Balancing Corporate & Homesteading Lifestyles
How NOT To Build A Chicken Coop
Learn from my mistakes ... how NOT to build and plan a chicken coop.
I've been wanting chickens for a few years and it took me about that long to convince my husband that we needed, or in other words, that I wanted them. Because this was "my" thing, I tried to find a coop and yard that I could put together myself.
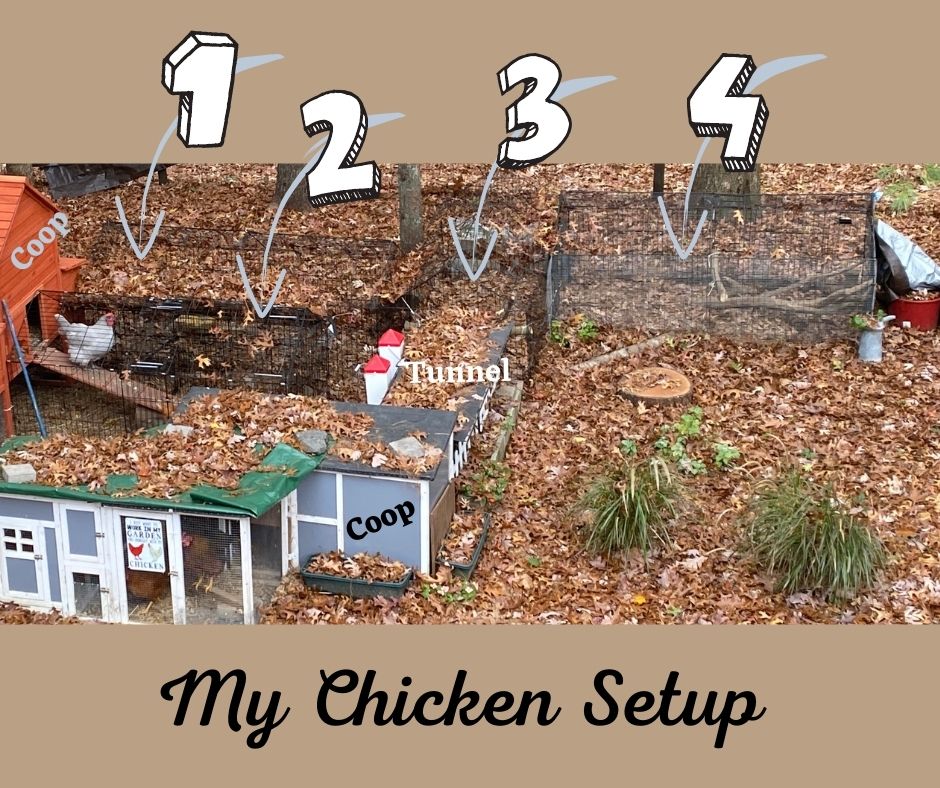
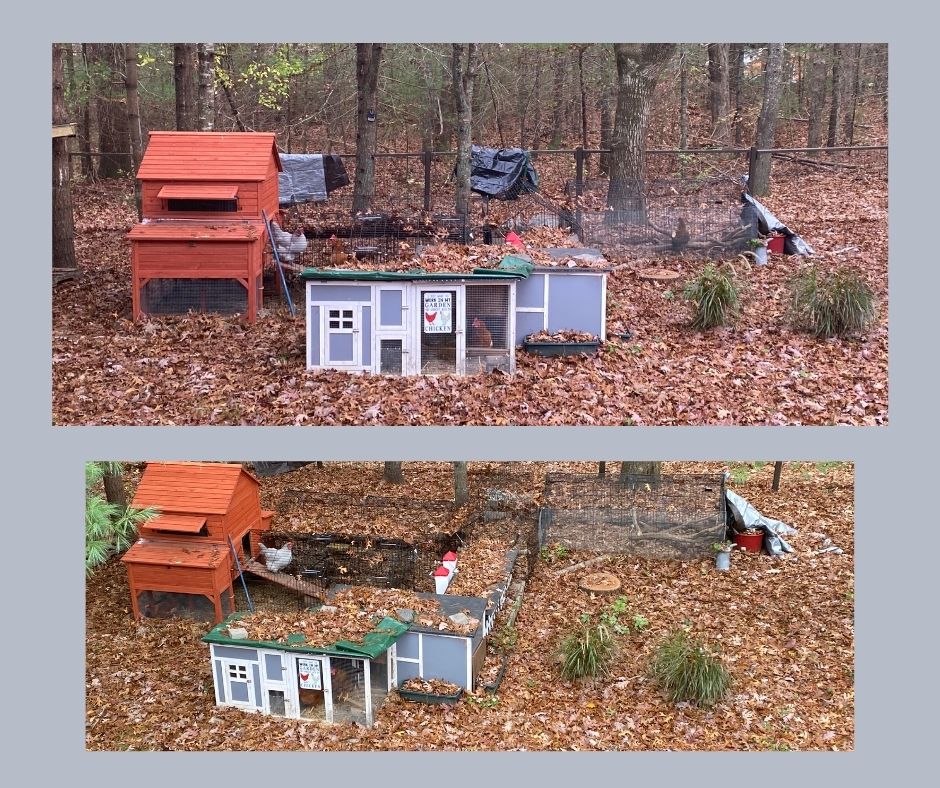
We now have a combination of 2 coops and 4 yard areas that make up our "chicken compound."
Although I made many mistakes along the way, luckily my chickens are forgiving and don't seem to be holding my mistakes against me.
The blue coops
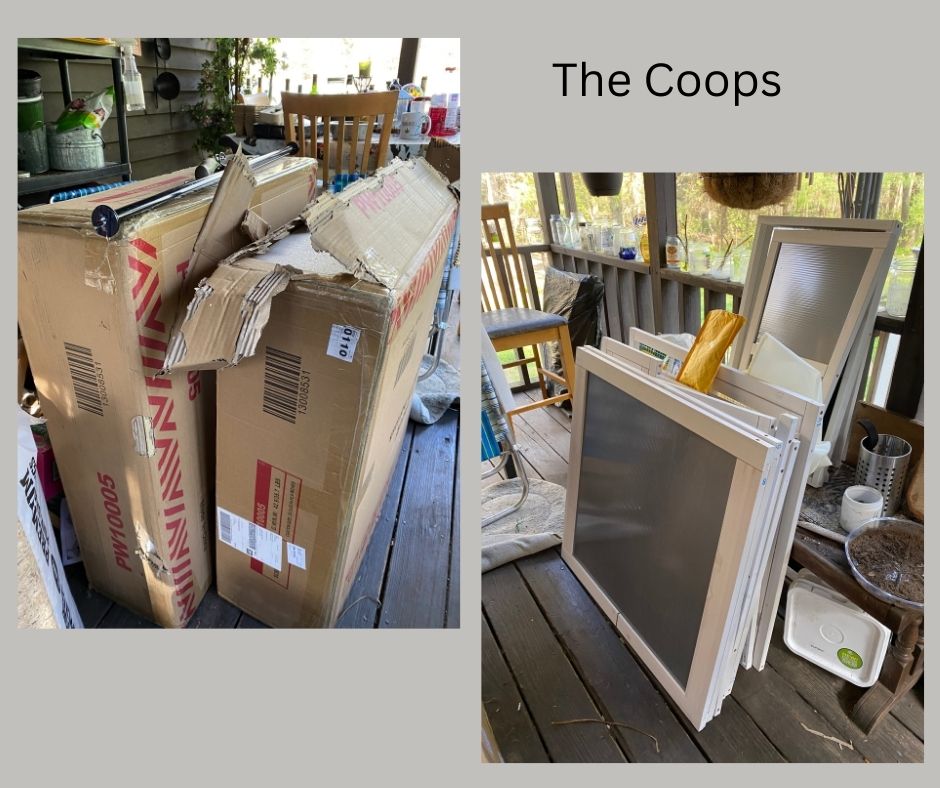
Once my husband agreed to chickens, my search for a coop started. I looked at photos and ideas and debated whether to build or buy one. Eventually I found one on Amazon that I liked. The reviews were decent and it said it would work for up to 4 chickens so I bought 2 thinking I could set up 2 coops for my 9 chickens.
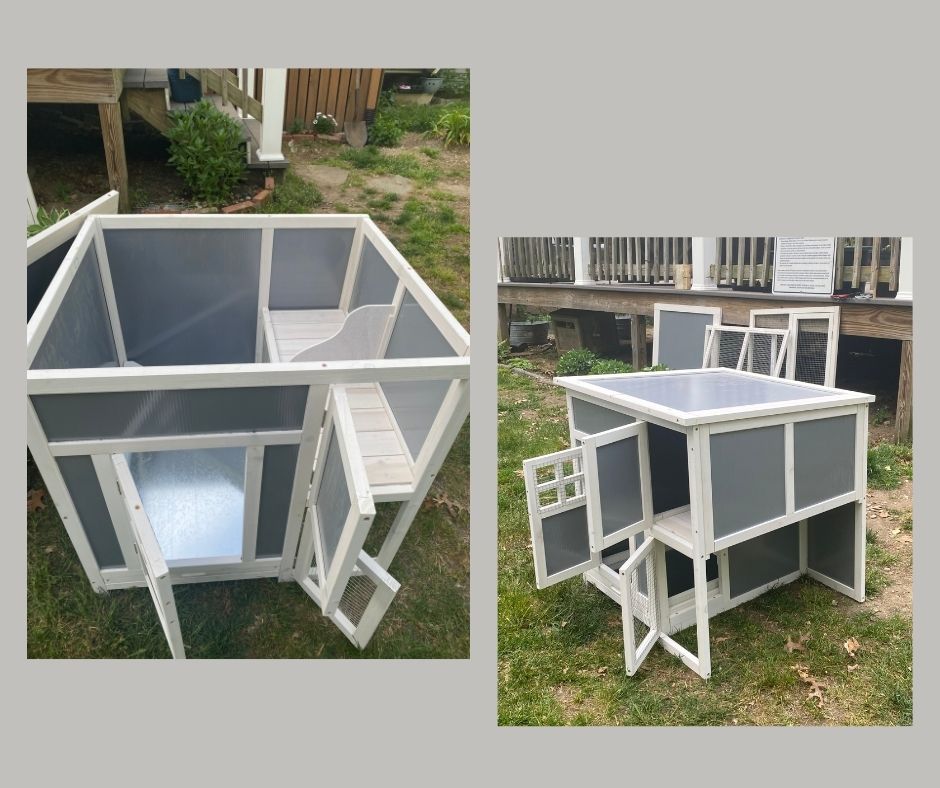
Surprisingly, putting the coop together was easy. I got them both together with a little help from my son. They were a little smaller and lightweight than I expected. Let's just say, knowing what I know now, they wouldn't have been my choice, but they worked well enough in the beginning.
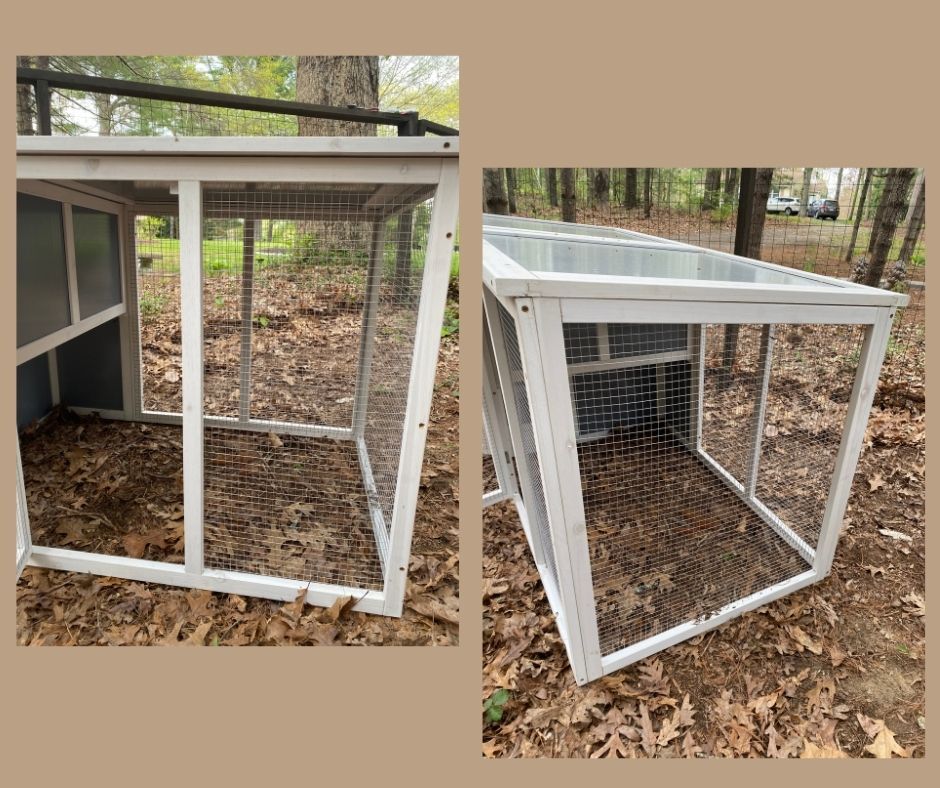
I worked very hard to make the coops secure. I added hardware cloth around the bottom of the coop, to bury in the ground, once they were in their permanent location.
Putting them on the side of the house with my garden and bee hives was our logical decision. Plus, my home office overlooks the area and would allow me to keep an eyes on things during the day.
The chicks were only a week old when I started getting everything together, still living in a tote under a heat lamp in my dining room.
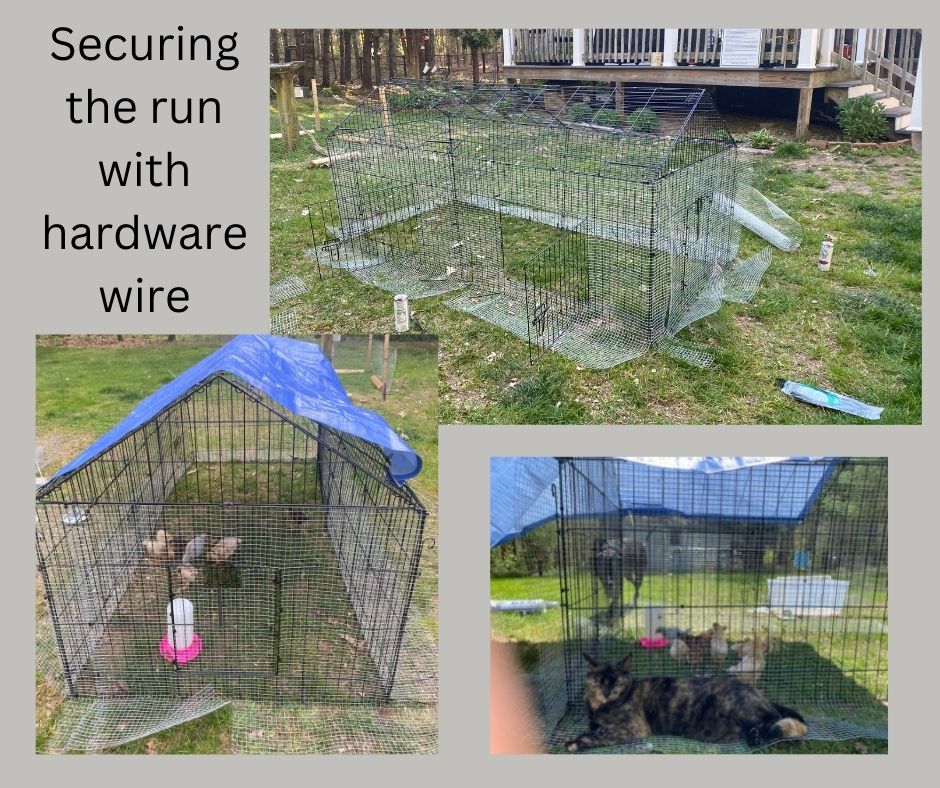
As the days started getting warmer, I was ready to let them spend some time outside. To keep the little rascals in the pen, I had to reinforce the sides with hardware cloth.
That stuff is NASTY. I cut myself so many times that I lost count. Since this was my first time using wire, I made it a lot harder than it needed to be ... but I wanted it to be perfect.
To secure the hardware cloth against the pens, I used zip ties. They worked very well. I now have a large supply of zip ties in all sizes. They have many great uses!
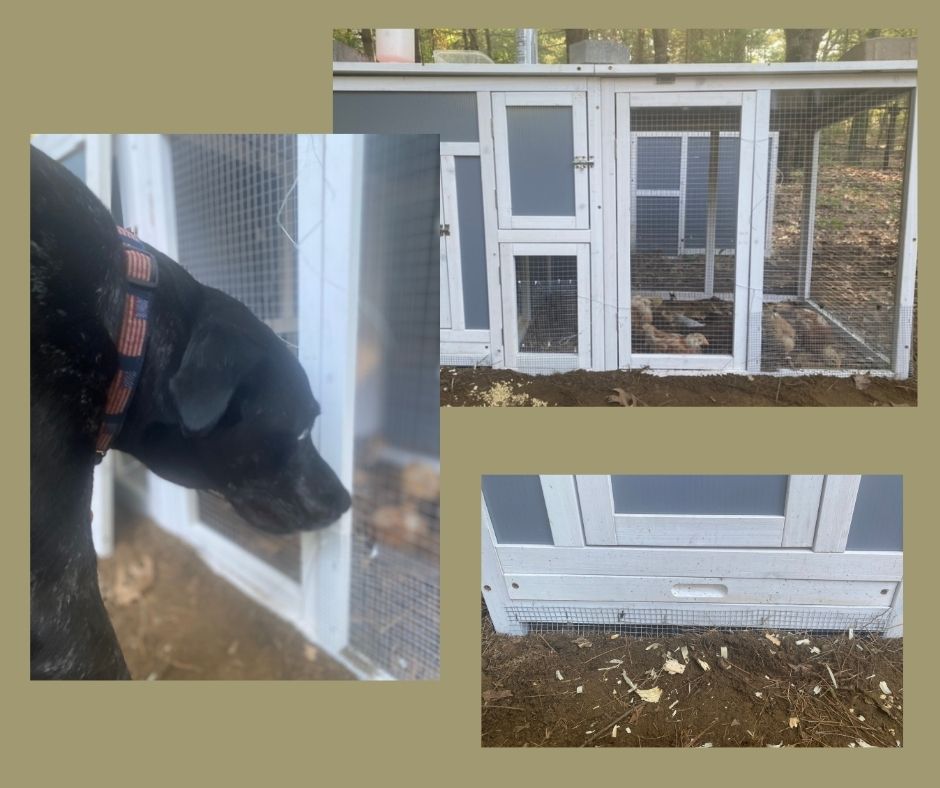
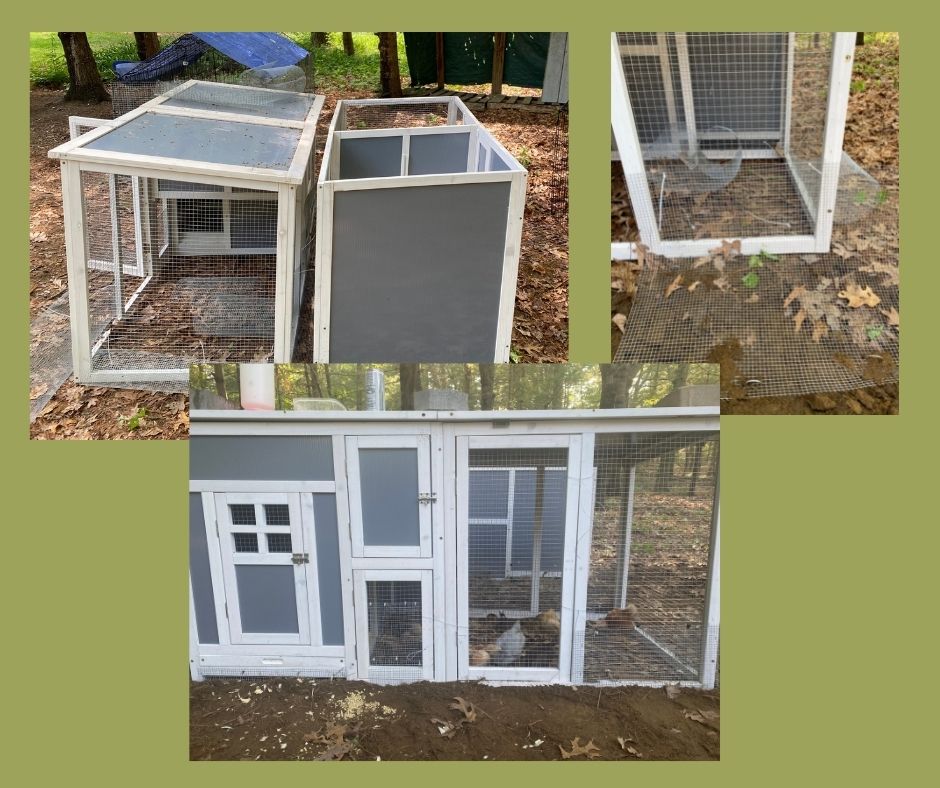
So far so good
Things were moving right along. I had my 2 coops and 2 pens ... now to pull them together and create a safe and happy place for the flock.
There's nothing like winging it and as much as I thought I had thought it out ... nothing worked like I planned. Ugh, with 9 chicks living in my dining room, I knew I was going to have to come up with a solution soon.
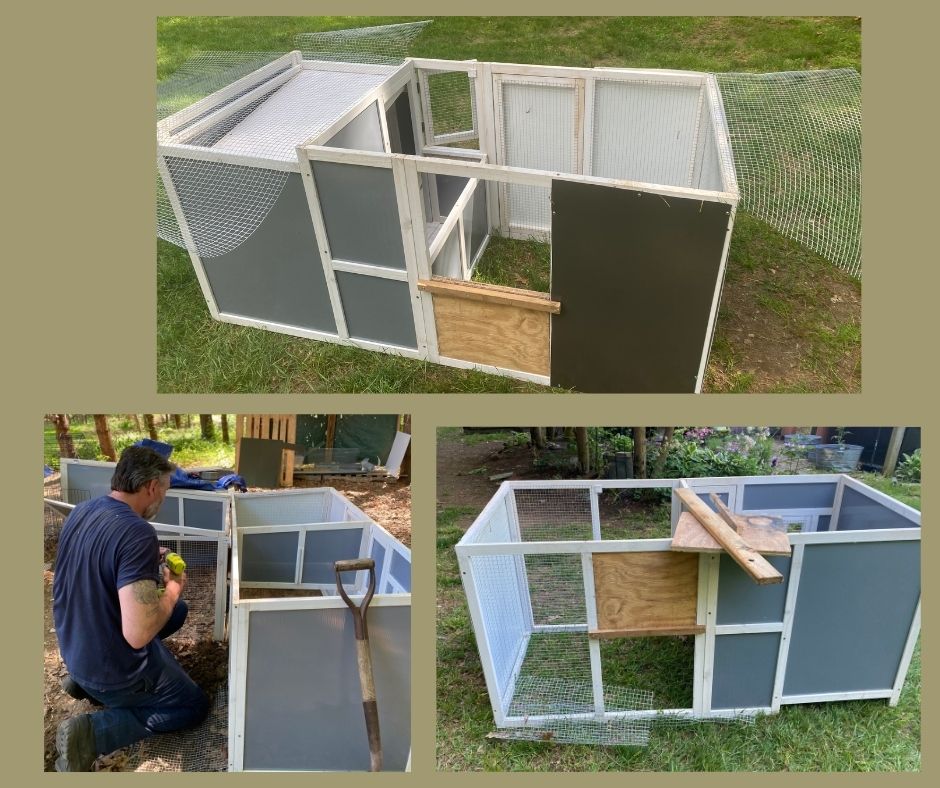
What now?
After much thought, I realized 2 coops was not going to work for the yard set up that I had in mind. With safety as a primary factor, I needed to have an enclosed area with protection on all sides and above. We have too many hawks and owls, not to mention other predators. I didn't want to lose a chicken for lack of trying.
I had chickens a long time ago, and not that I put as much thought into it then, I was very sad when I lost one. I will never forget my 3 old hens who at this point were no longer laying. They always flew out of the protected yard and walked around the farm. One morning I woke up to hundreds of feathers scattered across the yard. Coyotes had gotten them.
The modifications begin
Other than starting over, I came up with the idea to connect the 2 coops together. I needed my husband's help at this point. We had to cut out sections of each of the coops so they could be joined together. This actually helped to make it more solid.
Since each coop had a yard area, we enclosed one yard with sheet metal ... so my coop had 3 roosting areas, 4 nesting boxes, and a little yard.
This was a great idea in theory but failure in practice, which I would later discover. I thought the hens would spread out in their apartment style coop, but noooooo, they just squished all together in one of the roosting areas. At first, this was fine because they were small, but the problem became more evident as they grew bigger.
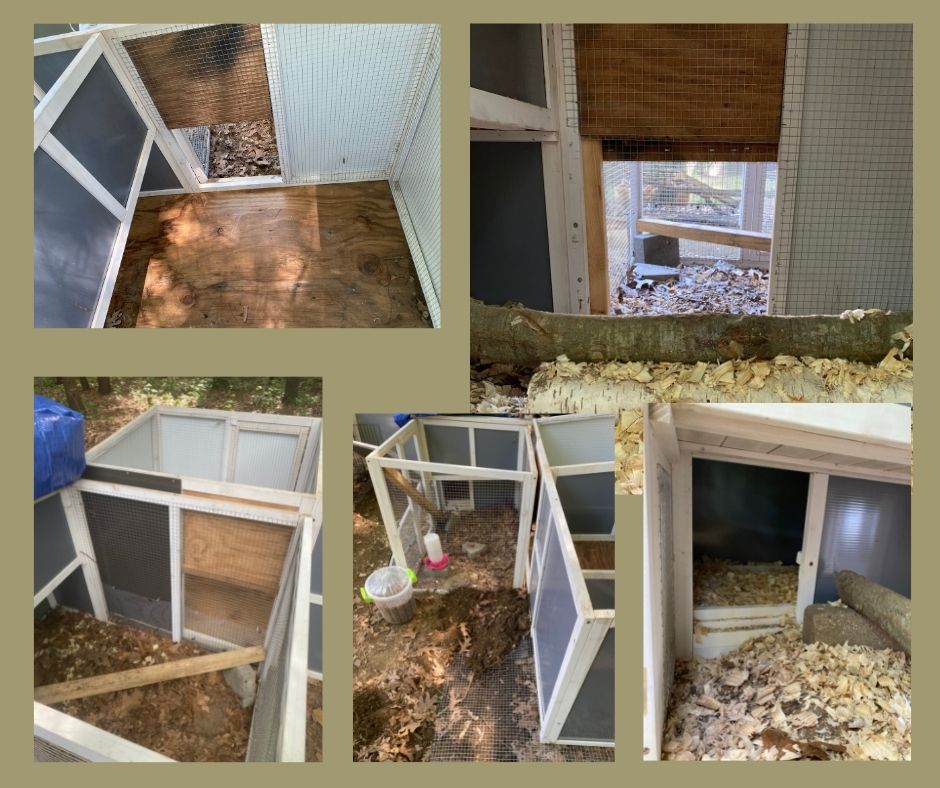
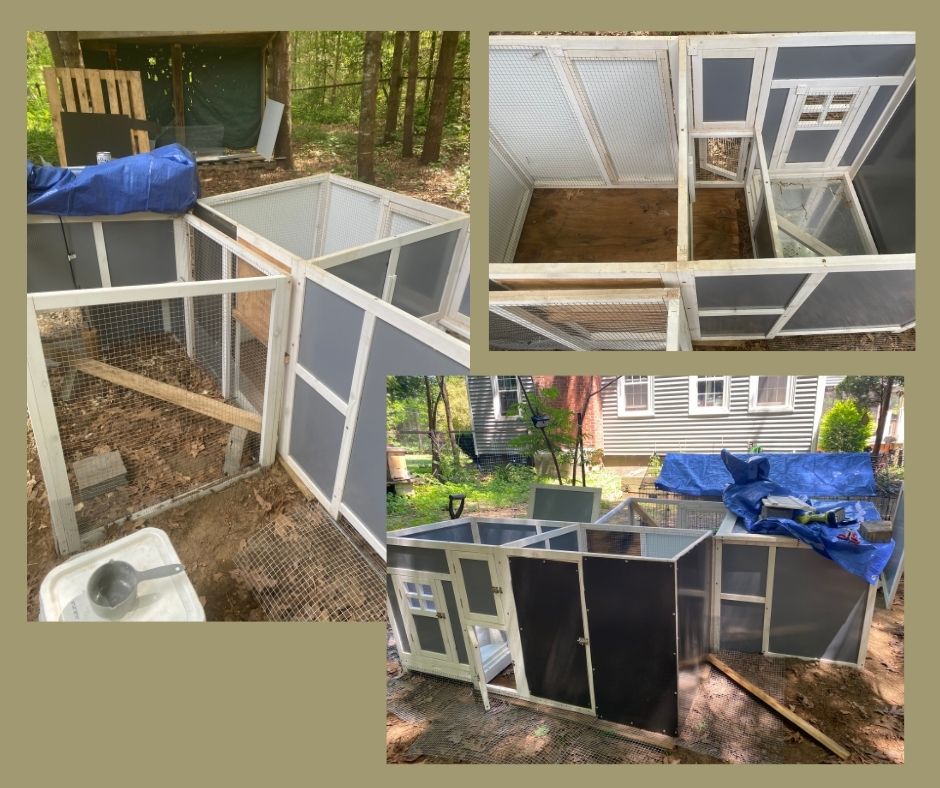
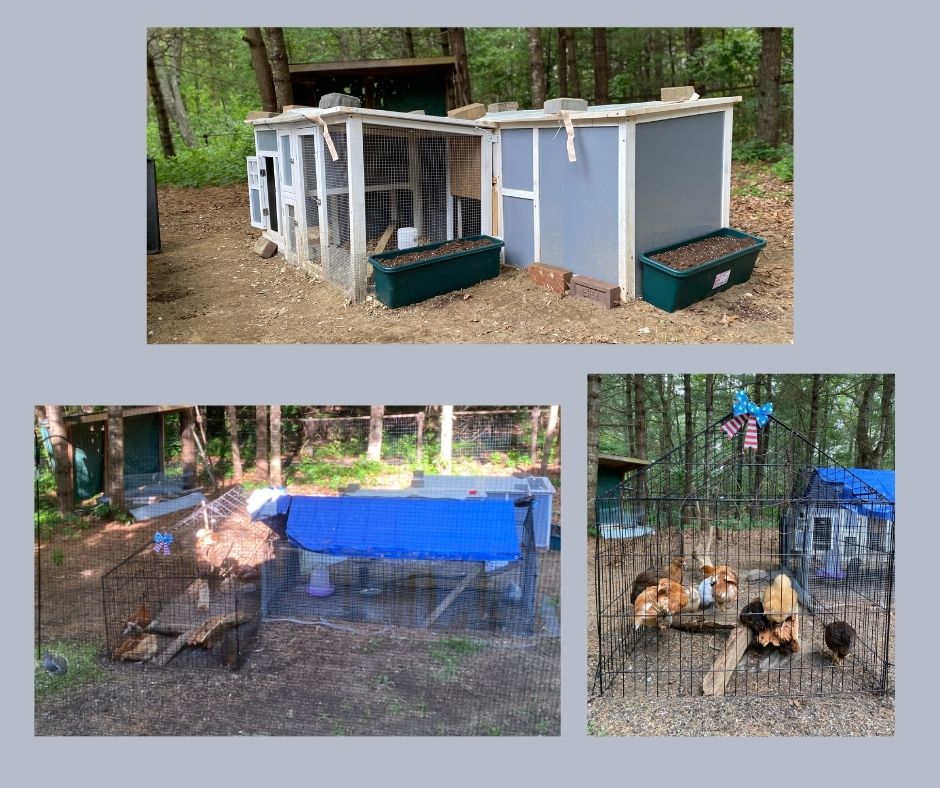
Without realizing the problems ahead, I thought my coop issue was solved. With one coop, I would only need to figure out how to connect one coop door to the pen/yard.
I put the pen/yard a few feet from the coop and herded everyone between the two as needed. Sometimes it was easy and other times no one would cooperate and I'd have to catch them one by one. It was a comedy.
As the babies grew, which they do quickly, I added a second yard/pen to the first. This was very easy. I pulled a door off each pen and zip-tied the two together. This doubled their space ... But I still couldn't figure out how to connect the coop to the yard/pen.
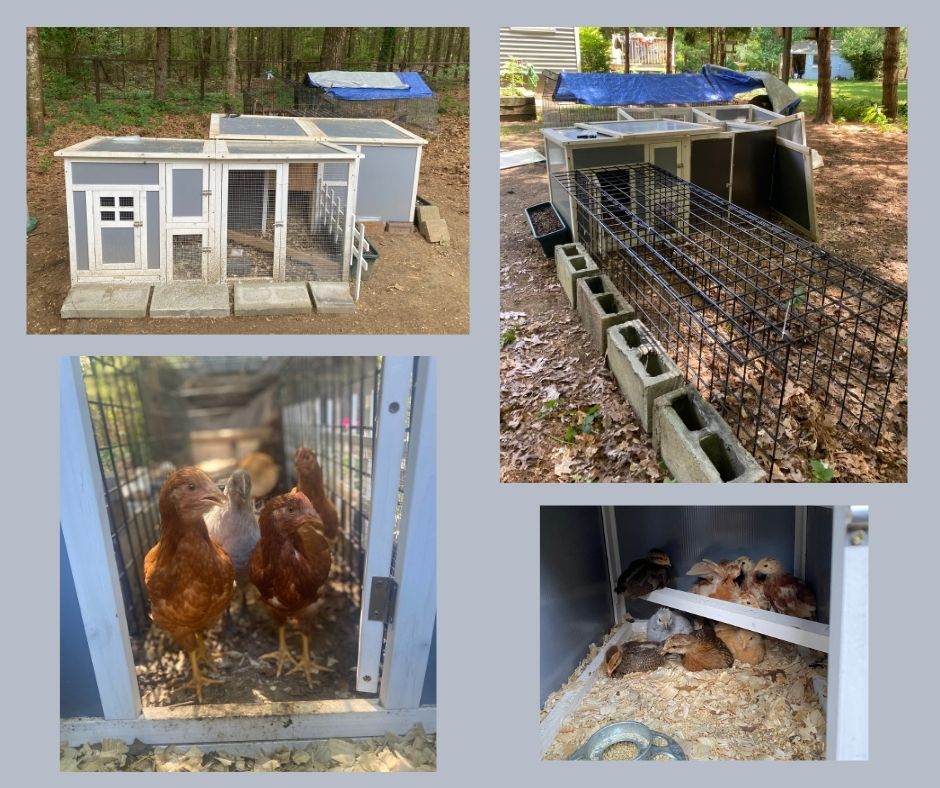

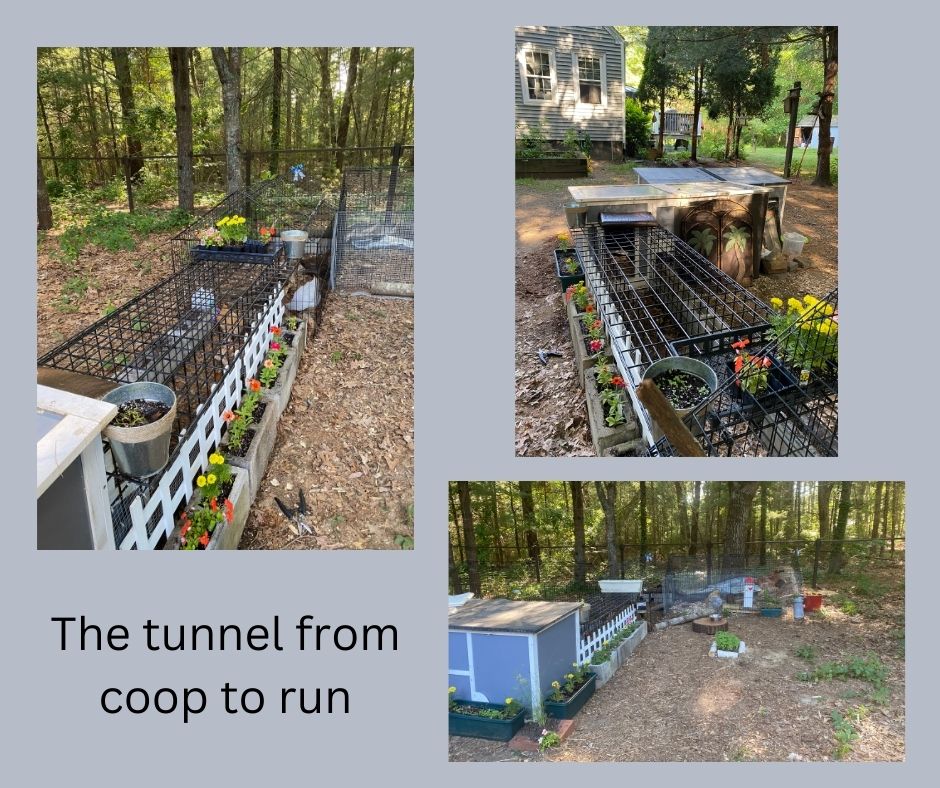
I came up with a lot of different ideas but nothing was practical. I realized it was time to get my husband's help again. He was confident he would find something. A little while later he came back with some shelving he intended to use for his chain saws and viola! We had a tunnel. The spacing between the bars are large enough to squeeze my hand through so I can open and close the coop door easily.
I added a picket fence and cinder blocks along the tunnel to make it look a little nicer. With a few flowers, it added a lot to the area. Although I chose "chicken safe" flowers, I used the hardware wire to keep them from eating them all.
Next, I moved the two yard/pens to the back of the coop and connected them to the tunnel. I also bought a third yard/pen and connected that to the existing set up.
Where I went wrong
As much as I hoped this would work ... hope doesn't always make things happen ... and it didn't in this case.
So, why didn't this work ... first, the chickens like sleeping together. They didn't space themselves out but all squished into the nesting box of one coop and tried to sleep there. Also the little yard was too small too and all liked to congregate there until it was time for everyone to go out. Not practical for the flock.
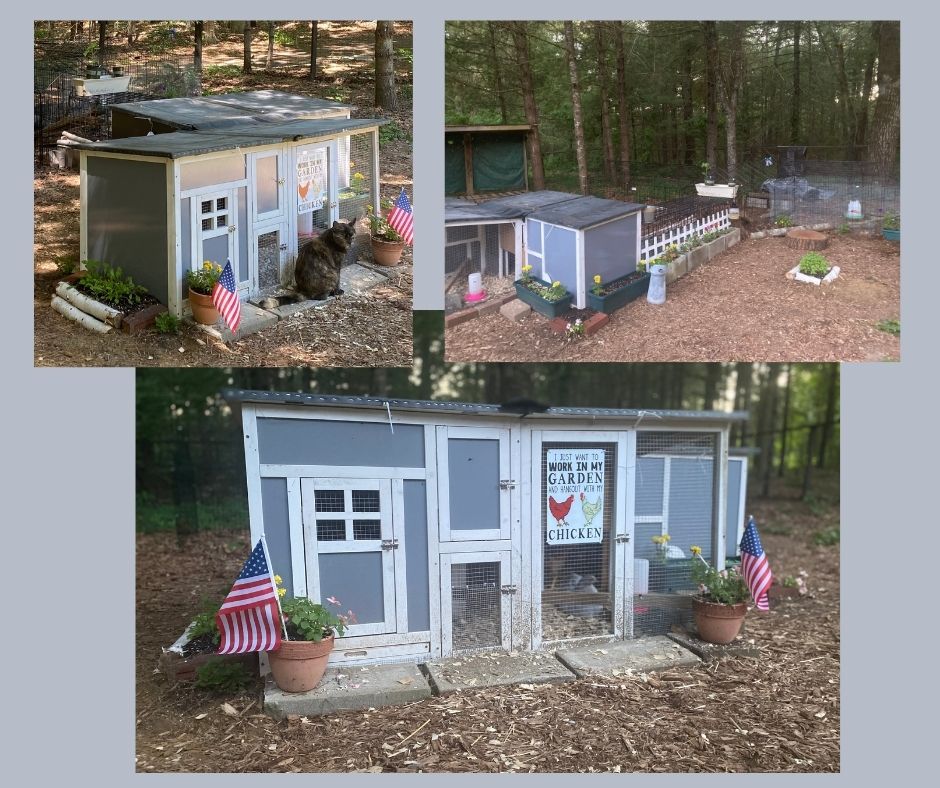
And not practical for me either ... anyone who knows coops will see this is not set up for an easy clean. DIFFICULT sums it up.
To clean, I had to remove each roof (there are four) and lean down into the coop and scoop out all the dirty bedding. The summer heat was rough enough, I could NOT imagine doing this all winter.
On the plus side, because of the small size, keeping the coop warm would be easy but that that's not enough. The flock needed a REAL coop.
So back online and a lot more searching and I came across this coop and decided it would be perfect ... or so I hoped this time.
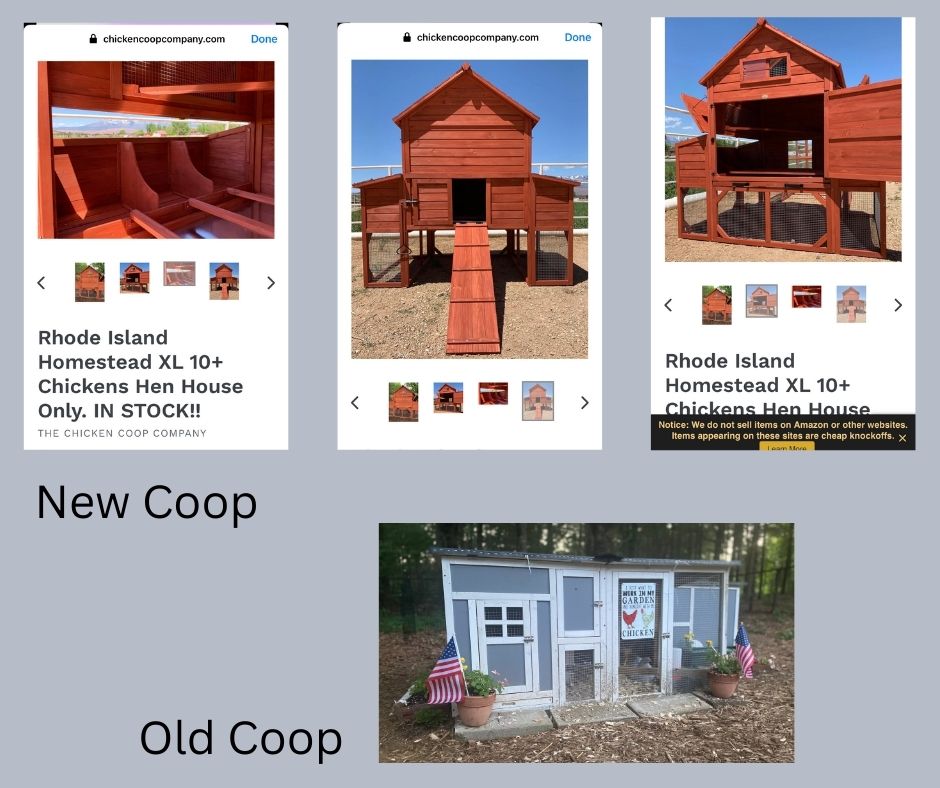
Here we go again ...
I ordered the coop ... it was reasonably priced ... more than my blue coops but that was to be expected as this looked to be the real thing and just what I wanted. I couldn't build this coop myself for this cost (we checked lumber costs etc.), so I pulled the trigger.
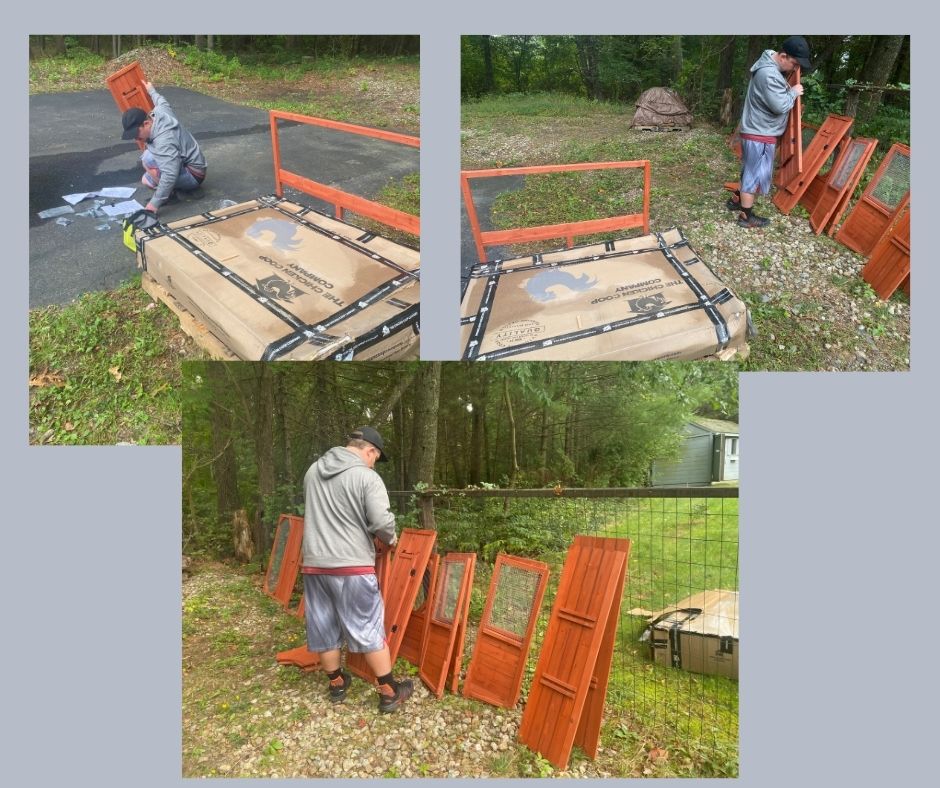
It arrived (from Oregon) in a big truck, and was dropped in my driveway. My son and husband spent less than 2 hours putting it together. Everything fit perfectly, the instructions were clear and I was happy!
But with another coop to add to my "chicken city," a new problem developed ...
The ramp was too high to fit into the existing set up of the 4 pens that I had fitted together so perfectly ... so I bought a 5th pen. I left off one side to put up against the coop to put up against the coop and secured with zip ties. The full length of the pen wouldn't fit so I overlapped to the 2 pieces to shorten it and zip tied it together. Then I connected it to the adjacent yard/pen and problem solved. This is my current set up.
Lessons learned: PLAN! and plan again. I thought I had it figured out but was wrong and had to keep making modifications until I got it right. In the end, I'm happy with the way things worked.
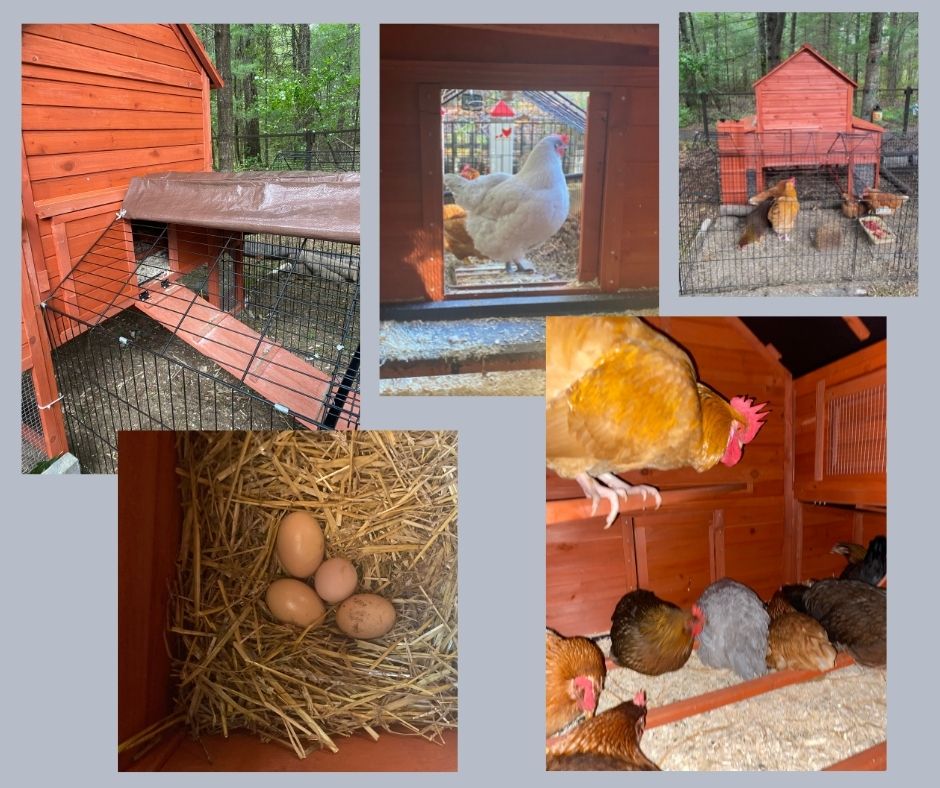
Although my chickens don't get to run free in my back yard (they do get time out when I can sit with them), they have room to flap their wings, run, scratch, roost and they are safe from predators. I raised these babies from a day old and love them! They are so much fun and very interesting to watch, they are a great stress-buster and provide a lot of entertainment and relaxation. I enjoy spending time with them.
Although the girls used to lay their eggs in the old coop, they now are laying in the new one. Everyone sleeps in the new coop now except little Chicken Nugget, who switches between the two. She occasionally prefers to sleep alone in the old coop. I used to move her to the other coop with the rest of the flock but now I let her stay. It's her choice.
I made a lot of mistakes in this chicken journey and found my unplanned ideas worked better than those that I planned. The biggest take-away is to think it through ... saving money in the short run, may cost you more in the end. And most important, chickens are forgiving ... do the best you can with what you have ... and keep you're fingers crossed ... hopefully it will work out just fine.
Below is a picture of my set up as it is now ... one - four are my connected pen/yards ... it's a work in progress that has already changed many times, and I'm sure with more changes to come. Good luck and just enjoy your chickens ... there is much to learn from them if you stop and take the time to observe.
