Balancing Corporate & Homesteading Lifestyles
Top 5 Mistakes People Make When Disinfecting Their Coops 🐔🧼

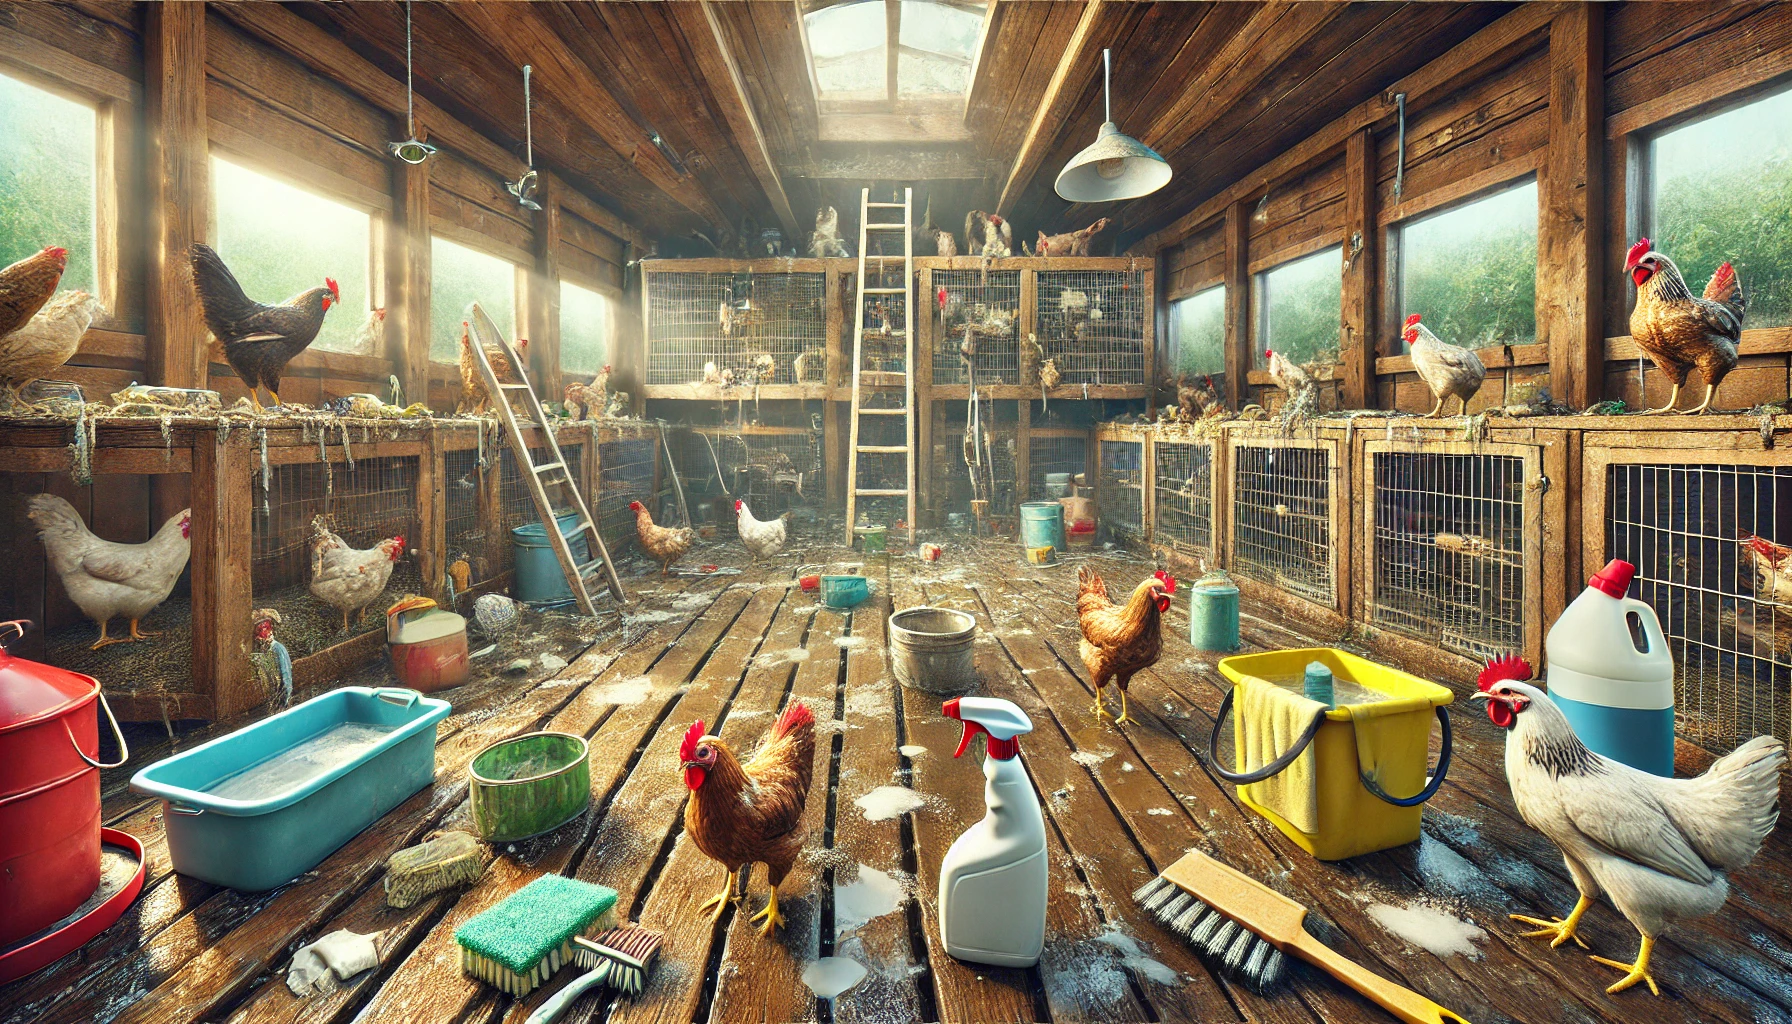
Disinfecting your chicken coop is essential for maintaining a healthy flock and preventing diseases, but it’s easy to make mistakes that can leave harmful pathogens lurking behind. A properly disinfected coop keeps your birds happy, healthy, and productive. Here are the top 5 mistakes people make when disinfecting their coops—and how to avoid them!
1. Not Pre-Cleaning Surfaces Before Disinfecting
Mistake: Skipping the critical step of cleaning before disinfecting. Dirt, manure, feathers, and bedding can block disinfectants from working properly.
- Why It Matters: Organic matter (like droppings or leftover feed) shields bacteria, viruses, and fungi, preventing the disinfectant from reaching the surface. Disinfectants can’t clean and kill at the same time.
- How to Fix It:
- Start by removing all bedding, feathers, manure, and debris.
- Scrub surfaces with warm, soapy water to break down grime.
- Rinse thoroughly and allow the coop to dry slightly before applying disinfectant.
Pro Tip: Think of disinfecting like washing dishes. You wouldn’t sanitize a dirty plate without first cleaning off the food, right?
2. Skipping Proper Contact Time
Mistake: Spraying disinfectant and wiping it off too quickly, or not letting it sit long enough to work.
- Why It Matters: Disinfectants need time to kill pathogens. Skipping the recommended contact time leaves behind harmful bacteria, viruses, or fungi that can still infect your flock.
- How to Fix It:
- Always read the product label to find the recommended contact time (usually 10–15 minutes).
- Allow the disinfectant to sit on the surface for the full amount of time before rinsing or letting it dry.
Pro Tip: Set a timer! A few extra minutes can make all the difference when eliminating tough pathogens like Marek’s Disease or Salmonella.
3. Using the Wrong Concentration
Mistake: Applying disinfectants that are too weak (ineffective) or too strong (potentially harmful to your chickens and coop materials).
- Why It Matters:
- Too weak: Pathogens won’t be killed, leading to lingering disease risks.
- Too strong: Can damage surfaces like wood or metal and leave behind residues that irritate your birds.
- How to Fix It:
- Carefully follow the manufacturer’s instructions for dilution rates. For example:
- Bleach: A 1:10 dilution (1 part bleach to 10 parts water) is commonly used for coop disinfection.
- Virkon S: Typically diluted at a 1:100 ratio (10g per liter of water).
- Use proper measuring tools to ensure accuracy.
- Carefully follow the manufacturer’s instructions for dilution rates. For example:
Pro Tip: Label a dedicated spray bottle or bucket with the correct disinfectant mix to avoid confusion in the future.
4. Ignoring Hard-to-Reach or Porous Areas
Mistake: Focusing only on visible, easy-to-clean spots while neglecting cracks, crevices, and porous surfaces like wood.
- Why It Matters: Pathogens love to hide in small cracks, rough wood, and corners where disinfectants don’t always reach. Neglecting these areas can leave behind disease hotspots.
- How to Fix It:
- Use a sprayer to saturate all surfaces, including walls, nesting boxes, perches, and hard-to-reach corners.
- For porous materials like wood, choose disinfectants that penetrate effectively (e.g., Virkon S or Oxine AH).
- Scrub stubborn areas with a stiff brush to help the disinfectant work better.
Pro Tip: Pay extra attention to roosts, where chickens perch and droppings accumulate—this is a prime area for pathogens like Salmonella.
5. Not Rinsing or Allowing Proper Drying Time
Mistake: Letting disinfectant residue build up without rinsing or putting birds back into a wet coop too soon.
- Why It Matters:
- Disinfectant residue can irritate chickens’ skin, respiratory systems, and eyes.
- A damp coop encourages mold and bacterial growth, undoing your hard work.
- How to Fix It:
- If the disinfectant label requires rinsing, thoroughly rinse the surfaces with clean water after the contact time is up.
- Allow the coop to fully dry before adding fresh bedding and letting chickens back inside.
- Use sunlight for natural drying and added disinfection power!
Pro Tip: Time your cleaning for a sunny day to speed up drying and naturally eliminate lingering pathogens with UV light.
Final Takeaway
Proper disinfection is about cleaning smart, not just hard. Avoiding these common mistakes ensures your coop is truly pathogen-free, keeping your flock healthy and thriving. Remember:
- Clean first.
- Follow instructions for contact time and dilution.
- Pay attention to all surfaces, even the tricky ones.
A little extra effort goes a long way to protect your chickens from harmful diseases like Marek’s, coccidiosis, or Salmonella. Happy cleaning and happy hens! 🐔✨
What’s your go-to disinfectant for coop cleaning? Drop your tips in the comments! 🧼💬


