Balancing Corporate & Homesteading Lifestyles
The Case of the Mysterious Mudprints

Cluck Kent’s Biosecurity Blunders
By Cluck Kent, Flock Safety Reporter
Hey there, flock fans! It’s me, Cluck Kent, your friendly neighborhood feathered superhero. I spend my days patrolling the backyard, scratching for justice, and—apparently—making a few biosecurity bloopers along the way. Who knew saving the world (or at least the flock) could be so complicated?
Let me tell you about the time I, Cluck Kent, unknowingly became a villain in my own story.
The Incident: Muddy Missteps
One fine morning, I was on an important mission: Investigate the compost pile. It’s full of mysteries—wiggly worms, crunchy beetles, and questionable leftovers. After a thorough examination (and maybe a snack or two), I strutted back to the coop, feeling quite accomplished. But as soon as I stepped inside—uh-oh.
“Cluck Kent!” Mom squawked. “Where did all these muddy footprints come from?!”
I froze. I might have forgotten to wipe my feet. And by might, I mean I absolutely did not wipe my feet. Turns out, I’d tracked a delightful mixture of compost goo and who-knows-what straight into the coop.
The Lesson: What’s the Big Deal?
Mom grumbled something about “cross-contamination.” I had no idea what that meant, but it sounded serious. She explained that dirty feet (yes, mine) could carry bacteria or parasites into the coop, which could make me and my flockmates sick.
Oops. My bad.
The Fix: Super-Chicken Solutions
Mom decided to help me out (because even superheroes need a good sidekick). She set up a gravel path leading from the compost pile to the coop—less mud, fewer problems! She also added a boot-scraping mat (for herself, not for me… rude) and reminded everyone to keep the human shoes and chicken areas as separate as possible.
Now, I make sure to shake off before heading back to the coop. You know, a dramatic fluffing—feathers flying, dirt raining down. It looks cool and keeps things clean.
Moral of the Story
Even the best of us make mistakes. But with a few tweaks (and a little less compost pile exploration), we can keep the flock happy, healthy, and mud-free.
Stay clucky, stay clean, and remember—superheroes always learn from their bloopers! 🦸♂️🐓
Honey: Raw vs Processed
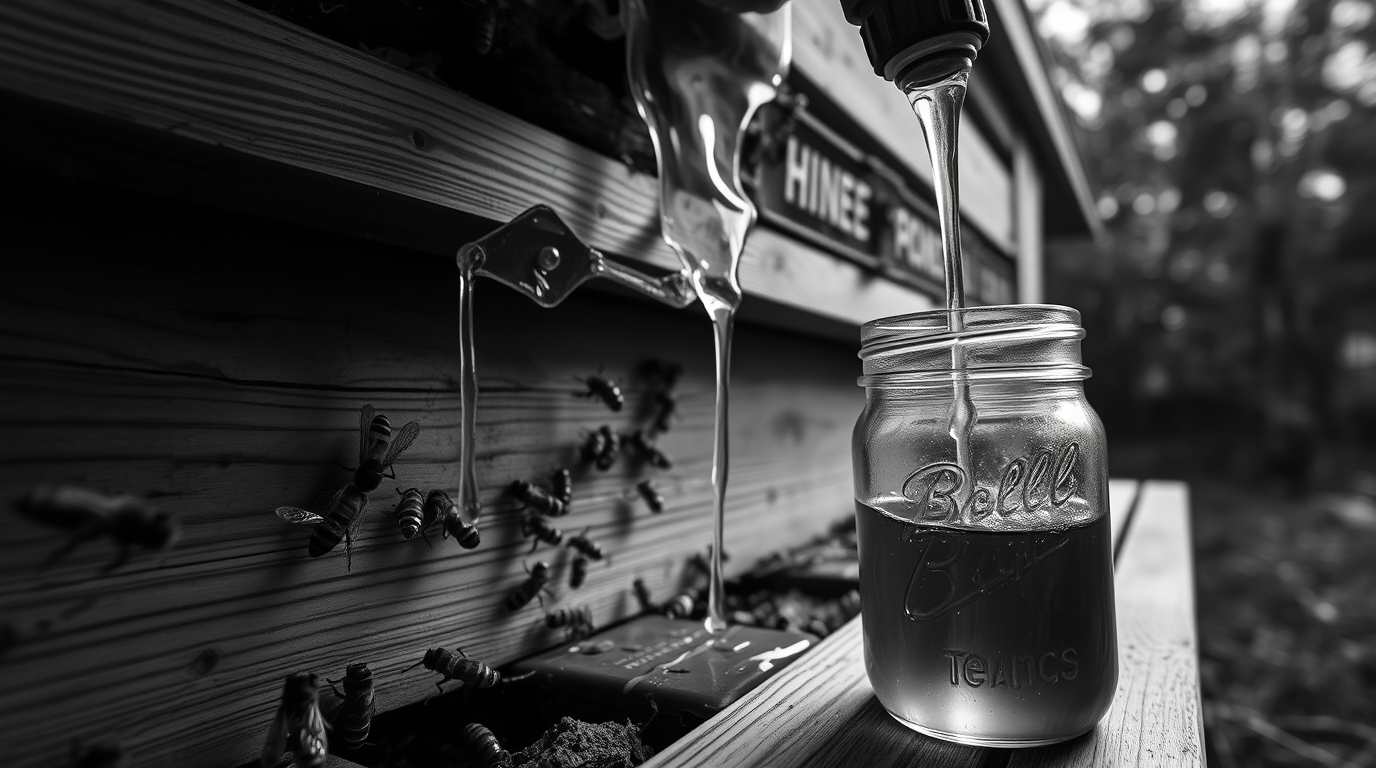
Honey is one of nature’s most incredible superfoods, known for its immune-boosting, antibacterial, and antioxidant-rich properties. But did you know that most store-bought honey is heavily processed, stripping away many of its natural benefits?
Let’s break down the key differences between raw and processed honey and why choosing the right one makes a big difference for your health.
What Is Raw Honey?
Raw honey comes straight from the hive with minimal processing. It is only lightly strained to remove wax or debris but retains:
✔️ Natural enzymes
✔️ Pollen & propolis (great for immunity & allergy relief)
✔️ High levels of antioxidants
✔️ Rich antibacterial properties
Raw honey often has a thicker, more opaque appearance and may crystallize over time—a natural sign of purity.
What Is Processed Honey?
Processed honey is heated, pasteurized, and ultra-filtered to remove pollen and small particles. While this gives it a clearer, smoother look, it also:
❌ Destroys beneficial enzymes
❌ Reduces antioxidant levels
❌ Removes pollen, which is helpful for allergy relief
❌ May contain added sugars or syrups
Many commercial honey brands blend different honey sources or even dilute it with corn syrup, making it less nutritious and far from its original form.
Why Raw Honey Is Better for Your Health
1. Supports Immunity & Allergy Relief
Raw honey contains local pollen, which may help reduce seasonal allergies by gradually building tolerance. It also strengthens the immune system thanks to its natural antibacterial and antifungal compounds.
2. Powerful Antibacterial & Wound-Healing Properties
Raw honey, especially Manuka honey, is known for its antimicrobial effects. It has been used in traditional medicine for:
✔️ Treating minor burns & wounds
✔️ Fighting bacterial infections
✔️ Soothing sore throats
3. Rich in Antioxidants
Raw honey is packed with polyphenols, which help reduce inflammation, support heart health, and fight free radicals that contribute to aging and disease.
4. Natural Digestive Aid
Raw honey contains prebiotics that support gut health and help balance good bacteria in the digestive system. It can also be helpful for acid reflux and minor digestive discomfort.
Does Heating Destroy Honey’s Benefits?
Yes! Heating honey over 95°F (35°C) destroys many of its natural enzymes, reducing its antioxidant and antibacterial properties. Pasteurization (often done at 160°F (71°C)) makes honey less effective medicinally and lowers its overall nutritional value.
How to Keep Honey’s Nutrients Intact
✔️ Use raw honey in warm, not boiling, beverages
✔️ Store it at room temperature
✔️ Use it as a spread, in salad dressings, or drizzled over food
How to Identify Real Raw Honey
With so many brands claiming to sell "raw" honey, here’s how to find the real deal:
✔️ Crystallization – Raw honey thickens over time; if it stays liquid forever, it's likely processed.
✔️ Cloudy Appearance – Natural honey is not always clear; small bits of pollen and propolis are a good sign!
✔️ Label Transparency – Look for "unfiltered," "unpasteurized," and "100% raw" on the label.
✔️ Buy from Local Beekeepers – Small-scale producers often provide the best quality raw honey.
Final Thoughts: Should You Choose Raw or Processed Honey?
If you want maximum health benefits, raw honey is the best choice. It retains its natural enzymes, antioxidants, and immune-boosting compounds, making it far superior to highly processed store-bought honey.
Whether you're using honey for immune support, allergies, digestion, or as a natural sweetener, choosing raw honey ensures you get all the benefits nature intended! 🍯🐝
Have you noticed a difference between raw and processed honey? Let us know in the comments.
Mushrooms For Flock Health

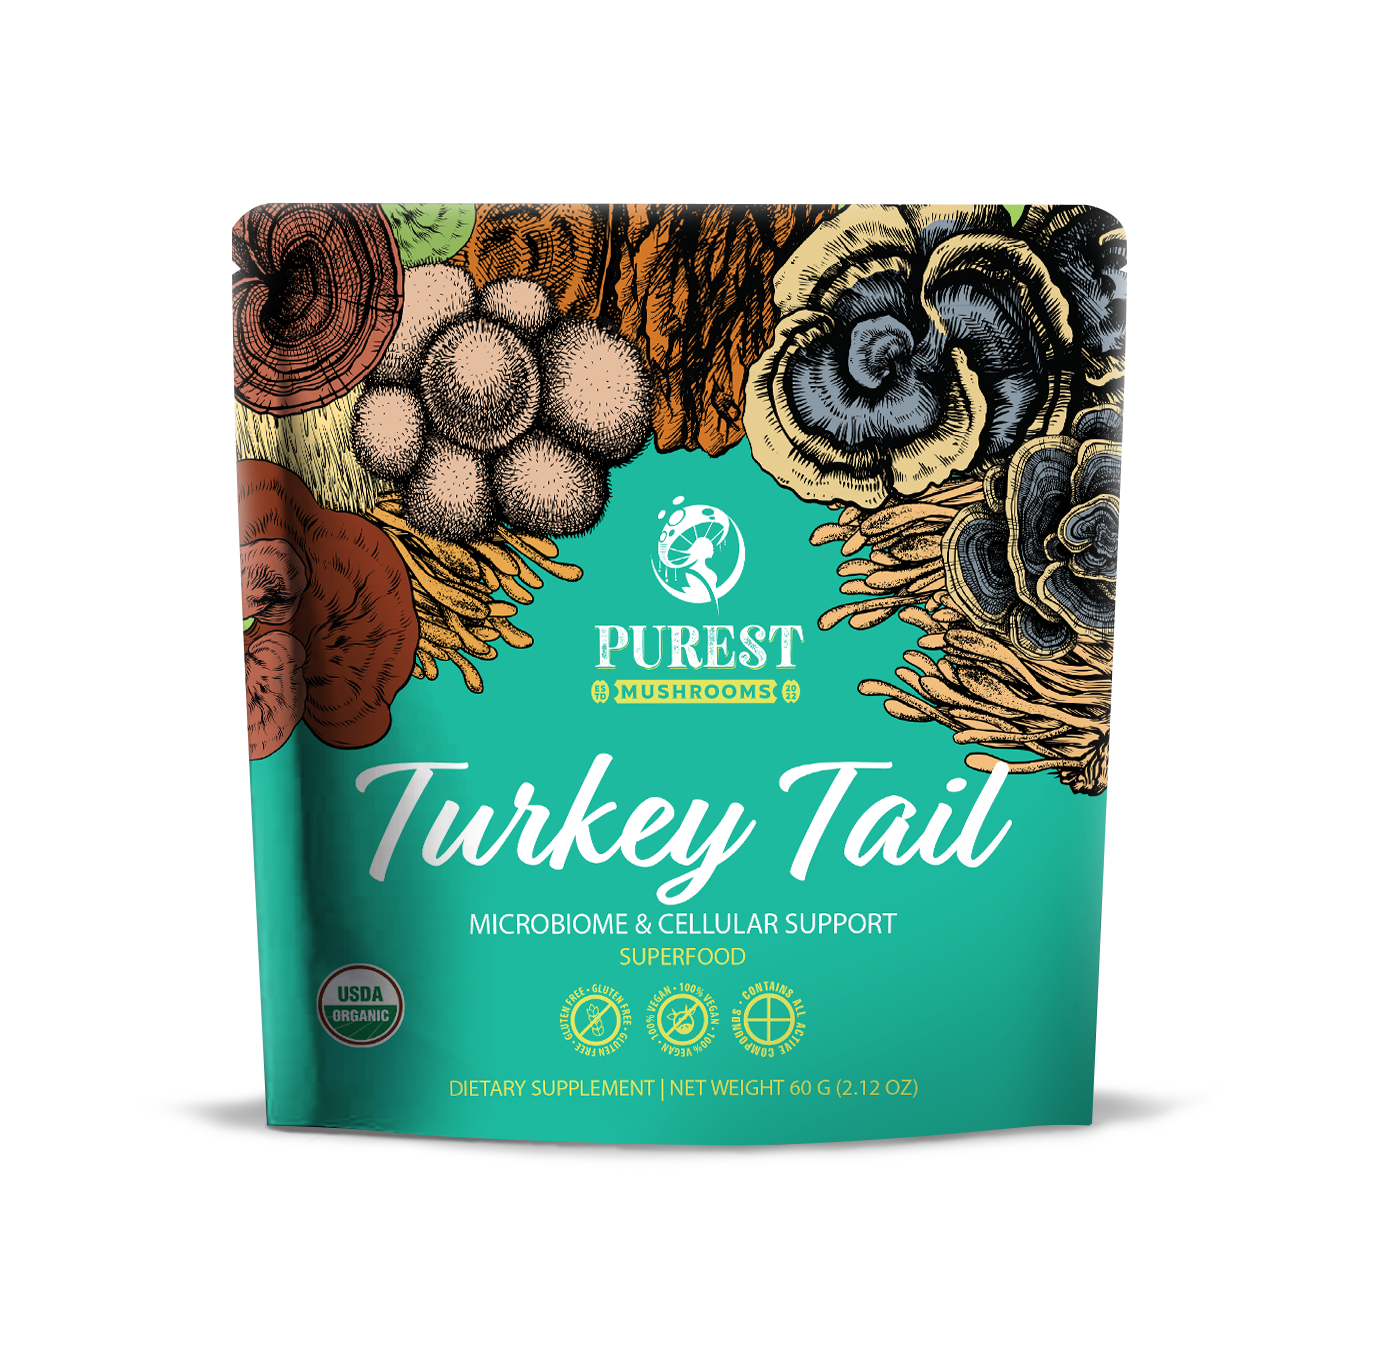
Mushrooms can support immune health in chickens, just like in humans. Certain medicinal mushrooms contain beta-glucans, antioxidants, and immune-modulating compounds that can help enhance disease resistance, reduce stress, and promote overall poultry health. Below are some of the best mushrooms for boosting your flock’s immune system. Purchase HERE.
Best Mushrooms for Chicken Immune Health
1. Reishi (Ganoderma lucidum) – The Ultimate Immune Modulator
✅ Boosts immune function by stimulating white blood cells
✅ Reduces stress (adaptogenic properties)
✅ Anti-viral & anti-bacterial properties help fight infections
✅ Supports respiratory health, useful for preventing respiratory infections in poultry
💡 How to Use:
- Dried & powdered Reishi can be added to fermented feed or water.
- Reishi tea (brewed and cooled) can be used as a natural immune booster in waterers.
2. Turkey Tail (Trametes versicolor) – Gut & Immune Support
✅ Rich in polysaccharide-K (PSK), a well-known immune booster
✅ Enhances gut microbiome health, improving digestion and disease resistance
✅ Shown to increase antibody response, helping chickens fight off infections
✅ Used in natural parasite management
💡 How to Use:
- Dried Turkey Tail powder can be mixed into feed.
- Turkey Tail extract or tea can be added to drinking water.
3. Shiitake (Lentinula edodes) – Everyday Immunity & Egg-Laying Support
✅ Contains lentinan, a compound that stimulates white blood cell production
✅ Provides B-vitamins, selenium, and zinc, essential for egg production
✅ Helps prevent Salmonella and E. coli infections
✅ Reduces inflammation in the gut, improving nutrient absorption
💡 How to Use:
- Fresh or dried Shiitake mushrooms can be chopped and added to wet feed.
- Shiitake powder can be sprinkled on feed or mixed into homemade treats.
4. Chaga (Inonotus obliquus) – Antioxidant Powerhouse for Disease Prevention
✅ One of the most powerful antioxidants, helping prevent oxidative stress in chickens
✅ Supports liver health, which is important for detoxification
✅ May help combat Marek’s disease by strengthening immune response
✅ Aids in reducing inflammation and stress, important for commercial or show birds
💡 How to Use:
- Chaga tea (brewed and cooled) can be used as a natural immune-boosting drink.
- Dried and ground Chaga powder can be mixed into fermented feed.
5. Cordyceps (Cordyceps militaris) – Energy & Respiratory Health
✅ Supports respiratory function, useful for preventing chronic respiratory disease (CRD)
✅ Increases oxygen uptake, improving overall stamina and growth in meat birds
✅ Natural adaptogen, reducing stress and improving disease resistance
✅ May improve fertility in breeding stock
💡 How to Use:
- Cordyceps powder can be mixed into feed.
- Cordyceps extract can be added to drinking water during periods of stress or illness.
How to Introduce Mushrooms to Your Chickens
1️⃣ Dried & Powdered Mushrooms:
- Add ¼ to ½ teaspoon per bird per day to feed.
- Mix into fermented feed or homemade chicken treats.
2️⃣ Mushroom Tea:
- Brew Reishi, Turkey Tail, or Chaga tea, let it cool, and add to waterers.
- Use during seasonal transitions or stressful periods (molting, flock integration, illness).
3️⃣ Fresh Mushrooms (Shiitake, Oyster, etc.):
- Chop into small pieces and mix with other treats like scrambled eggs.
- Introduce gradually to check for acceptance.
When to Use Mushrooms for Your Flock
✔️ During seasonal changes (to prevent seasonal illnesses)
✔️ After introducing new birds (to strengthen immune defenses)
✔️ During molting (for extra nutritional support)
✔️ After vaccinations or illness recovery
✔️ For stress reduction in high-production hens
Final Thoughts
Medicinal mushrooms like Reishi, Turkey Tail, Shiitake, Chaga, and Cordyceps can naturally support your flock’s immune health, digestion, and resilience against disease. Whether you add powdered mushrooms to their feed or brew mushroom tea for their water, these fungi offer a safe, natural way to enhance poultry health. 🍄🐓
Magic Shoe Puddles

By Cluck Kent, Flock Safety Reporter
Listen up, humans. You stomp around out there—feed stores, public parks, maybe even other chicken coops—then waltz right into our home like you own the place. Ever stop to think about what’s riding in on those dirty boots of yours?
Germs. Bacteria. Bird flu.
That’s why my human set up a magic shoe puddle at the entrance to the coop. At first, I thought they’d finally installed a tiny swimming pool just for me (about time, really). But then, I saw what it really was—a security system for our feet.
The Blue Puddle Investigation
I took my job as Flock Safety Reporter seriously. When this blue puddle appeared, I had questions.
Was it a portal to another dimension?
A secret snack stash?
A trap designed to drown unsuspecting chickens?!
I had to know. So, I watched as my human stepped right in it. Not only did they survive, but they walked out cleaner than before. That’s when I realized…
This puddle wasn’t for fun—it was for safety.
What Is a Foot Bath and Why Do You Need One?
A foot bath is a shallow container filled with a disinfecting solution, placed at the entrance to the coop. When you step in, it kills germs on your shoes before they sneak inside. It’s like washing your hands—but for your feet.
How It Works (For Humans Who Need Things Spelled Out)
1️⃣ Step into the blue puddle – Both feet. No tiptoeing.
2️⃣ Let the solution work its magic – Just a few seconds does the job.
3️⃣ Step onto a dry mat – Because no one likes wet footprints in the coop.
That’s it. Two seconds of effort = a healthier flock.
Why Bother? My Coop is Clean!
Sure, I bet you keep things tidy. But disease doesn’t care about your cleaning schedule. Bird flu, Marek’s, and other nasty bugs can hitch a ride on your shoes from the feed store, the park, or even your own backyard.
🐔 What It Protects Us From:
✅ Avian influenza – The biggest threat to backyard flocks.
✅ Marek’s disease – A silent, deadly virus that spreads easily.
✅ Bacteria & parasites – Because you don’t want to bring home mystery germs.
A foot bath stops the problem before it even starts.
Setting Up Your Own Magic Shoe Puddle
Want to impress your chickens and be a responsible flock owner? Here’s what you’ll need:
Supplies:
✔ A shallow container (big enough to fit both feet)
✔ A disinfecting solution (Oxine, Virkon S, or a bleach-water mix)
✔ A scrub mat (to clean deep treads)
✔ A dry mat or towel for wiping off excess liquid
Note: We love & use Oxine & Virkon S: you can purchase here with our link at no extra cost to you.
Quick Setup Guide:
1️⃣ Place the container at the coop entrance – No skipping around it!
2️⃣ Fill it with disinfectant – Refresh it regularly so it stays effective.
3️⃣ Make stepping in a habit – Every visit, every time. No exceptions.
No Foot Bath? No Excuses.
If a foot bath isn’t available, shoe covers are the next best thing. They keep your regular shoes from tracking in germs, and they’re easy to remove before stepping inside.
Even if you do use a foot bath, dedicated coop shoes (shoes that never leave the chicken area) are the best option for regular visitors. That way, you’re not bringing outside contamination into the coop in the first place.
Final Thoughts from Cluck Kent
Humans, do the right thing. Step in the magic shoe puddle. Wear coop-only shoes. Protect your flock.
🐓 A few seconds of prevention can save your entire flock from illness.
Sick Bay: A Flock Must-Have

Listen up, humans. I know you like to think your flock is invincible, but let me tell you—disaster can strike at any moment. One day, everyone’s happily pecking away at their feed, and the next… BAM! A mysterious sneeze. A limp. A weird-looking poop.
And do you know what separates a prepared chicken keeper from a panicked one?
🩺 A fully stocked Sick Bay.
That’s right! Every responsible human needs a chicken first-aid kit—a go-to box filled with everything necessary to handle minor injuries, sudden illnesses, and unexpected poultry emergencies.
So, if you don’t already have a Sick Bay setup, grab a notebook (or better yet, just print this out), because I’m about to give you the ultimate checklist to keep your flock safe.
If you don’t already have a designated first-aid setup, consider this your official wake-up squawk. Let’s build the ULTIMATE chicken first-aid kit—no fluff, no unnecessary gimmicks, just the real essentials that could save a life.
🏥 The Sick Bay: Why Every Flock Needs One
When a chicken gets sick or injured, they need isolation from the flock. Why? Because chickens aren’t exactly known for their compassion. A weak or injured bird = target practice for the rest of the flock.
🐔 What Makes a Good Sick Bay?
✔️ Quiet & Isolated – Away from the main coop to reduce stress.
✔️ Warm & Dry – A heat source can help sick chickens recover faster.
✔️ Easy to Clean – Bedding should be disposable or easy to sanitize.
✔️ Secure – No predators, no nosy flockmates, just peace and quiet.
✔️ Proper Ventilation – Fresh air, no drafts.
🩺 The Ultimate Chicken First-Aid Kit
Now that we have our Sick Bay location, let’s talk supplies. Here’s what every responsible chicken keeper needs:
1️⃣ Wound Care & Injury Treatment
🩹 Vetrap (Self-Adhesive Bandages) – Sticks to itself, not feathers. Great for securing wraps.
🩸 Styptic Powder or Cornstarch – Stops bleeding from minor cuts or broken nails.
🧴 Saline Solution – Used to flush out wounds, eyes, or dirt.
🛡️ Betadine or Chlorhexidine Solution – Best for cleaning wounds (without staining everything purple).
💊 Triple Antibiotic Ointment (WITHOUT Pain Relief) – Helps small cuts heal (avoid any with “caine” ingredients—they’re toxic to chickens).
🚑 Raw Honey or Vetericyn Wound & Skin Care – Natural, safe, and promotes healing.
❌ Blu-Kote? Nope. It stains everything, including feathers, your hands, and your dignity. Plus, it’s not always the safest choice for deep wounds. Stick to Betadine or Vetericyn.
2️⃣ Respiratory & Illness Treatments
🤧 VetRx Poultry Aid – Helps with mild respiratory issues (a.k.a. the “chicken VapoRub”).
💊 Electrolytes & Probiotics – Helps weak birds recover fast from stress or illness.
🌿 Oregano Oil or Garlic Extract – Natural immune boosters for overall health.
💦 Apple Cider Vinegar (Raw, Unfiltered) – Added to water, it supports digestion and immunity.
🩺 Tylan or Denagard (For Vet Use Only) – Prescription antibiotics for serious respiratory infections.
3️⃣ Digestive & Crop Health
🍚 Nutri-Drench or Poultry Vitamins – A quick energy boost for weak birds.
⚡ Activated Charcoal or Toxin Binder – In case of poisoning (e.g., moldy feed, toxic plants).
🌾 Coconut Oil or Olive Oil – Helps treat impacted crops.
🦠 Acidified Copper Sulfate – For yeast infections like sour crop.
4️⃣ Pain Relief & Anti-Inflammatory Care
⚠️ WARNING: Never use human pain relievers like Tylenol, Advil, or aspirin without consulting a vet.
🌿 Epsom Salt – Used for soaking bumblefoot infections or swollen legs.
🐓 Arnica Gel (Vet-Approved Only) – A natural anti-inflammatory for sore muscles.
🧴 Preparation H (Yes, Really!) – Helps with vent swelling or minor prolapse.
5️⃣ Emergency Tools & Miscellaneous Must-Haves
🧤 Gloves – Protects you and the bird.
✂️ Scissors & Tweezers – For bandages, removing debris, or plucking ingrown feathers.
💡 Small Flashlight or Headlamp – For checking crop issues, egg binding, or night inspections.
🌡️ Thermometer (Non-Mercury) – A chicken’s normal temp is 105-107°F. Fever? Trouble.
💦 Syringes & Eye Droppers – For giving water, medicine, or feeding weak birds.
📖 Notebook or Health Log – Keep track of symptoms, treatments, and recoveries.
🐔 Common Chicken Emergencies & Quick Actions
🥶 Chicken is Cold, Weak, or Not Eating?
👉 Move to warm Sick Bay, offer electrolytes & Nutri-Drench, and observe.
🤧 Sneezy, Wheezing, or Runny Nose?
👉 Isolate, use VetRx, and watch for serious illness signs.
🦶 Limping, Swollen Foot?
👉 Check for bumblefoot—if infected, soak in Epsom salt and apply antibiotic ointment.
🥚 Egg Bound Hen (Straining, Fluffed Up, Not Pooping)?
👉 Give a warm Epsom salt bath, lubricate the vent, and offer calcium.
🩸 Bleeding from Beak, Nail, or Feather Shaft?
👉 Apply styptic powder or cornstarch to stop the bleeding.
🚀 Be Prepared, Stay Calm, Save Lives!
Emergencies don’t wait for you to be ready. They just happen.
So set up your Sick Bay now—before you find yourself holding a sneezing hen, panicking, and wishing you had stocked up.
Now, if you’ll excuse me, I need to go interview a hen who claims she was "almost egg-bound once." (She wasn’t. She just wanted extra attention.)
- Cluck Kent, Official Flock Safety Reporter
🐥 What’s in YOUR Chicken First-Aid Kit?
Ever had a chicken emergency? What saved the day? Drop your must-have first-aid items in the comments—I’ll read them while supervising my humans to make sure they’re restocking supplies. 😉
Breaking Shells: A Chick’s First Day on Earth

By Cluck Kent, Flock Safety Reporter
Listen up, humans. You think your first day was tough? Try waking up in complete darkness, trapped in a tiny, air-tight space, with nothing but your own beak and sheer willpower to get out. That’s right—I’m talking about hatching day.
And let me tell you, it’s not for the faint of heart.
Zipping: The Great Egg Escape
Once I gathered my strength, it was time for phase two: ZIPPING.
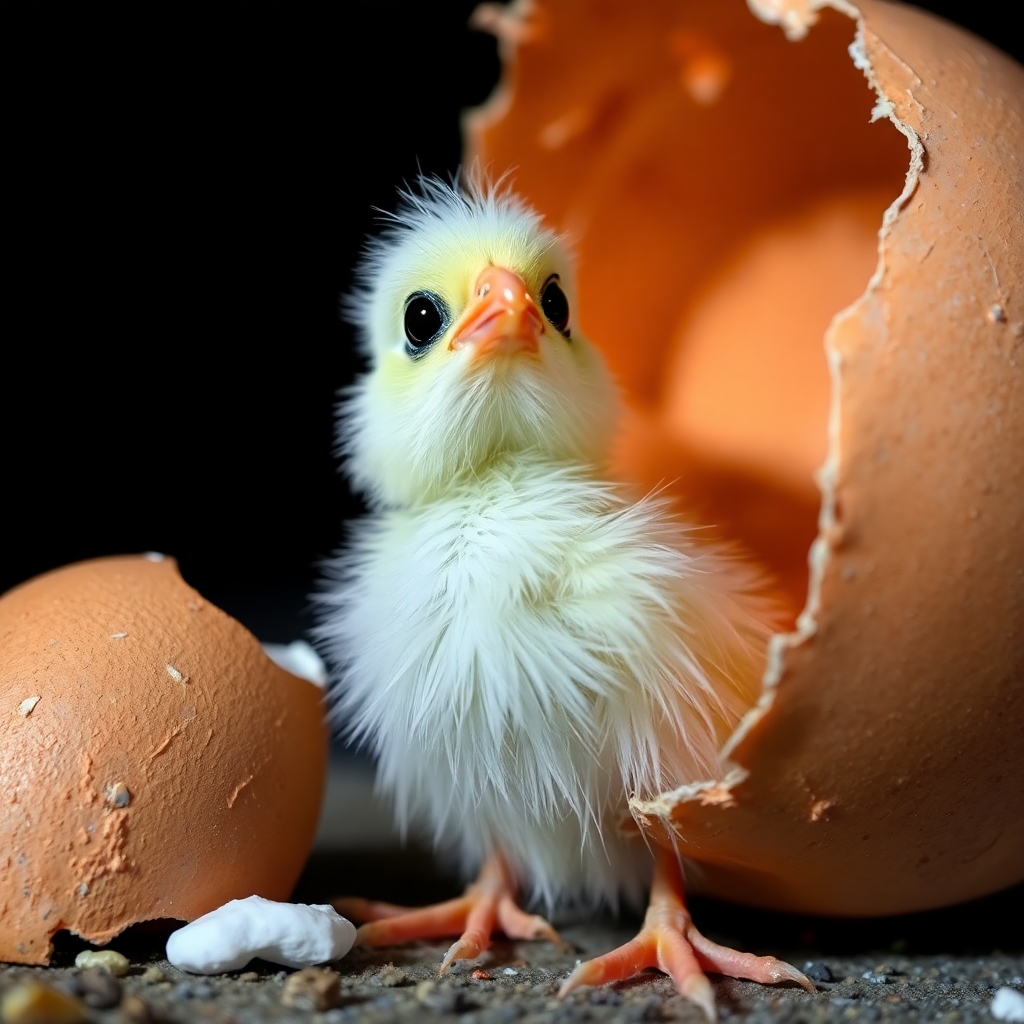
Zipping means cutting a clean line all the way around my eggshell with my special egg tooth (a tiny, temporary spike on my beak). This is where the real drama happens—one wrong move, and I’d be stuck inside, waiting for a rescue mission.
But I wasn’t about to be a quitter.
I pushed. I wiggled. I KICKED.
And then, finally—CRACK.
With one last shove, I burst out of my shell, wet, exhausted, and looking like a slightly overcooked noodle. Not my best look, I’ll admit, but give me a break—I had just fought my way into existence.
Life Outside the Shell: What Happens Next?
Once I was free, I expected cheering, applause, maybe a welcome parade. Instead, I got flopped onto warm bedding next to a bunch of other equally damp, confused chicks.
The first few hours were all about drying off, fluffing up, and getting used to my new body. My legs were wobbly, my wings didn’t work yet, and my eyes were still adjusting to actual light. Everything was HUGE—especially the giant creatures (humans) who kept making weird “aww” noises.
But most importantly, I had done it.
Chick’s First Meal: The Search for Snacks
After a long rest under the heat lamp of life, I suddenly had one mission and one mission only:
🥚 Find food.
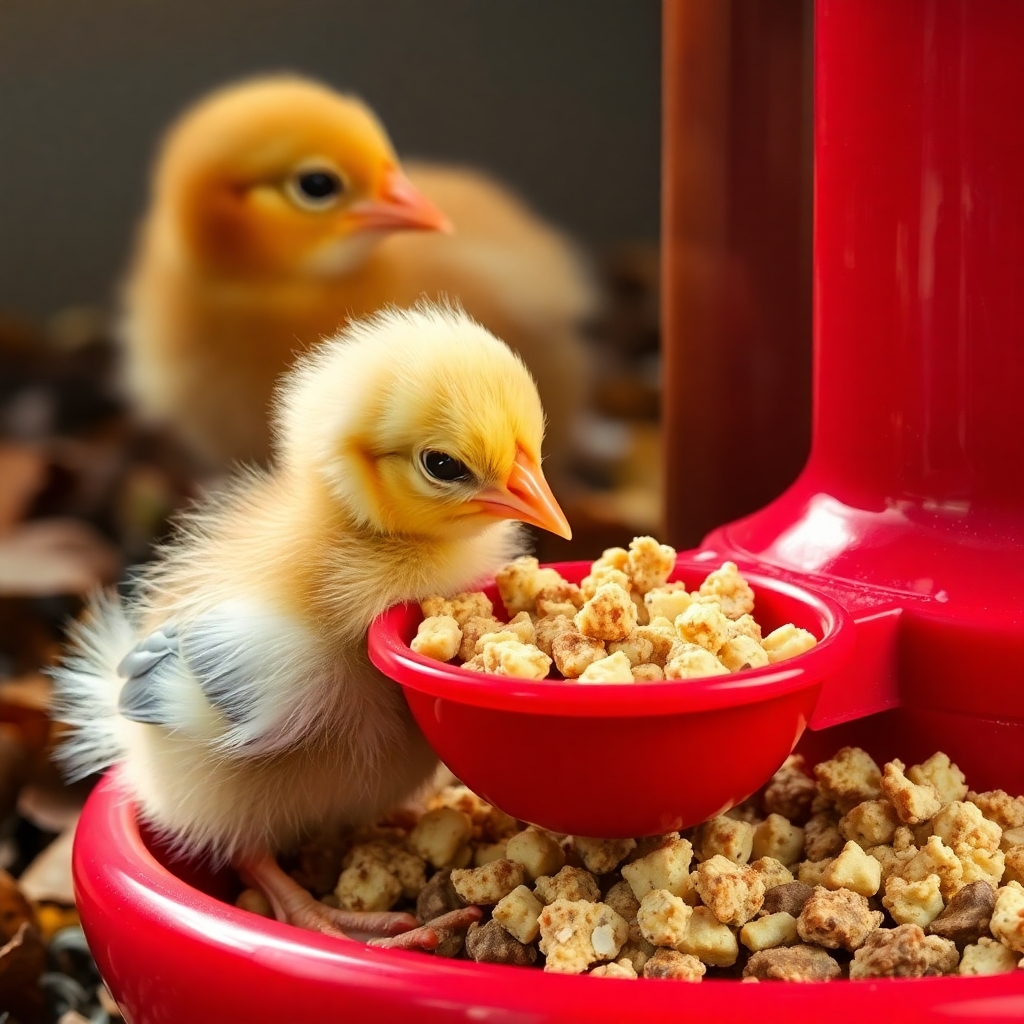
Lucky for me, the humans had already set up a feeder full of chick crumble (aka the breakfast of champions). At first, I wasn’t sure what to do—I had never eaten before, after all. But after watching a few of my fellow hatchlings give it a go, instinct kicked in.
And let me tell you—food is amazing.
Water, on the other hand? Almost drowned in it. (Note to all newborn chicks: water is weird. Proceed with caution.)
First Night: Settling In
By the time night rolled around, I had:
✔️ Hatched from my egg (dramatically, of course)
✔️ Learned to walk (sort of)
✔️ Discovered food (life-changing)
✔️ Avoided drowning in the water dish (a major win)
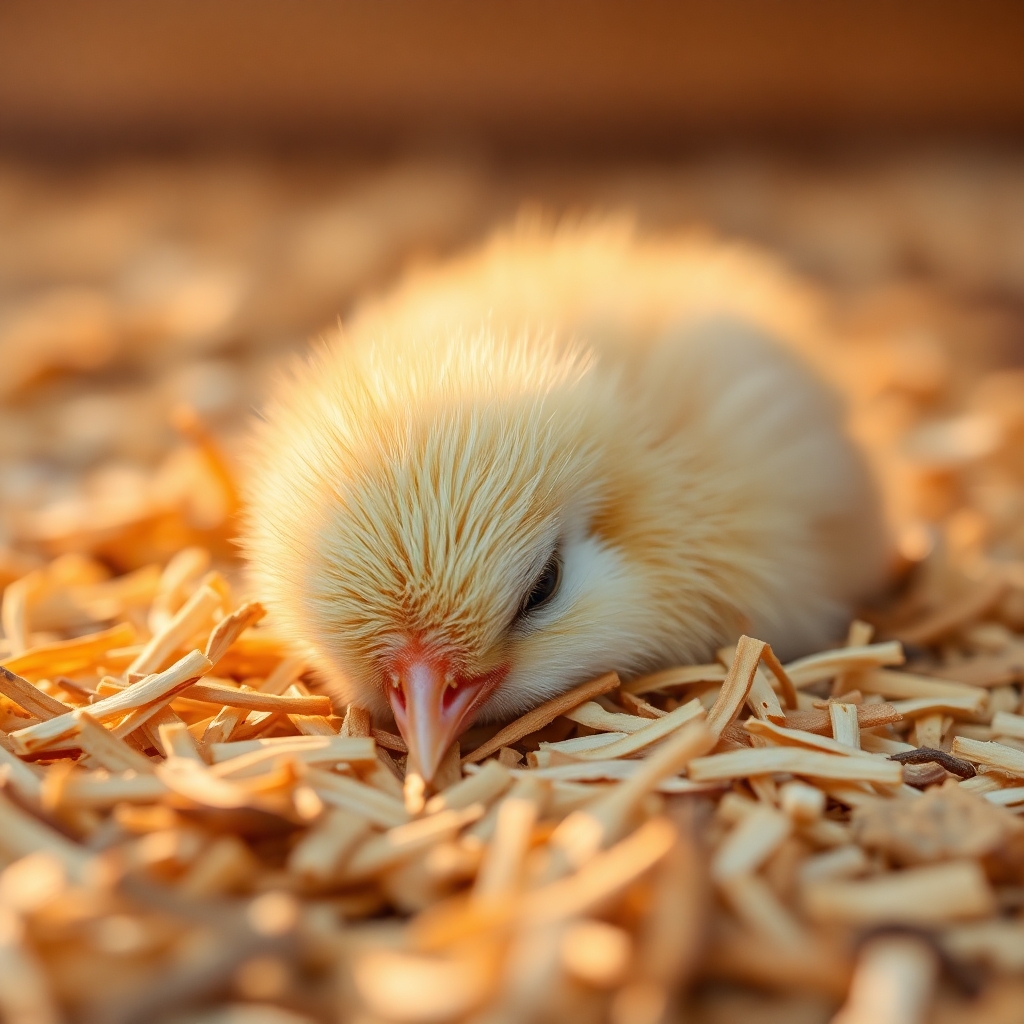
Now, all that was left to do? Sleep. And let me tell you, after all that effort, I slept HARD—sprawled out, face down in the bedding, looking completely lifeless (which, by the way, totally freaked out the humans).
Final Thoughts from a Newly Hatched Superchick
Hatching isn’t easy, but it’s the first step in becoming a strong, healthy flock member.
So, to all the tiny eggs out there waiting for their big moment—stay strong, peck hard, and push through.
The world is waiting for you (and so is the food).
Now, if you’ll excuse me, I have some very important pecking to do. 🐣
- Cluck Kent, Official Flock Safety Reporter
What About Your Chicks?
Do you remember the first time your chicks hatched? Did you have any hatching day drama? Drop your stories in the comments—I promise to read them between snack breaks. 😉
Rainy Days & Chicken Colds: The Muddy Fiasco I Heard About

By: Cluck Kent, Official Flock Safety Reporter
Now, before we get into this, let me make one thing clear: this did NOT happen in our coop. Oh no, our run is pristine, our perches are dry, and our humans know better than to let a mud puddle form under our fluffy feet. But through the chicken grapevine (a highly reliable network of coop gossip), I caught wind of a terrifying tale—a mud disaster that left an entire flock wet, cold, and clucking miserable.
I shudder just thinking about it.
So, gather around, fellow feathered citizens, because this is a cautionary tale of what happens when humans fail in their most important duty: keeping the coop a “No Sneeze Zone.”
☔ The Story of the Muddy Misfortune
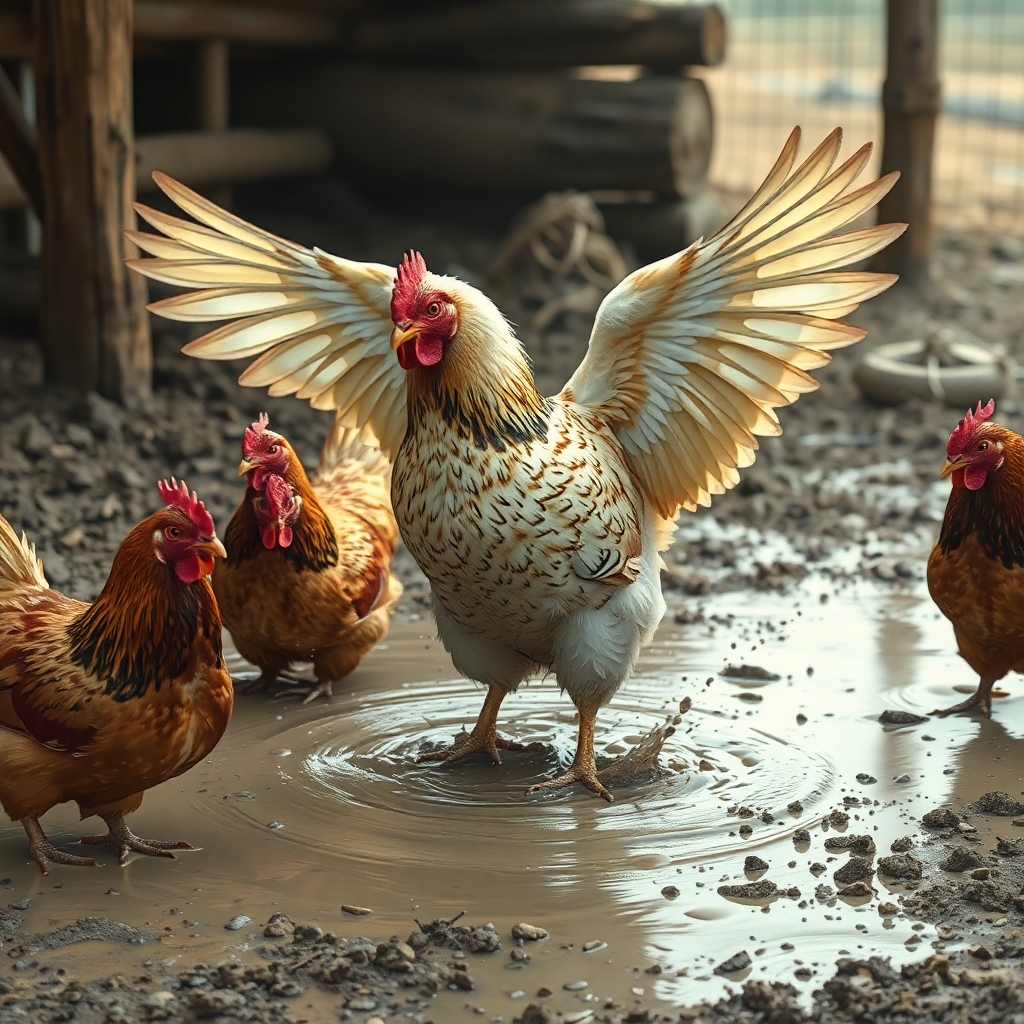
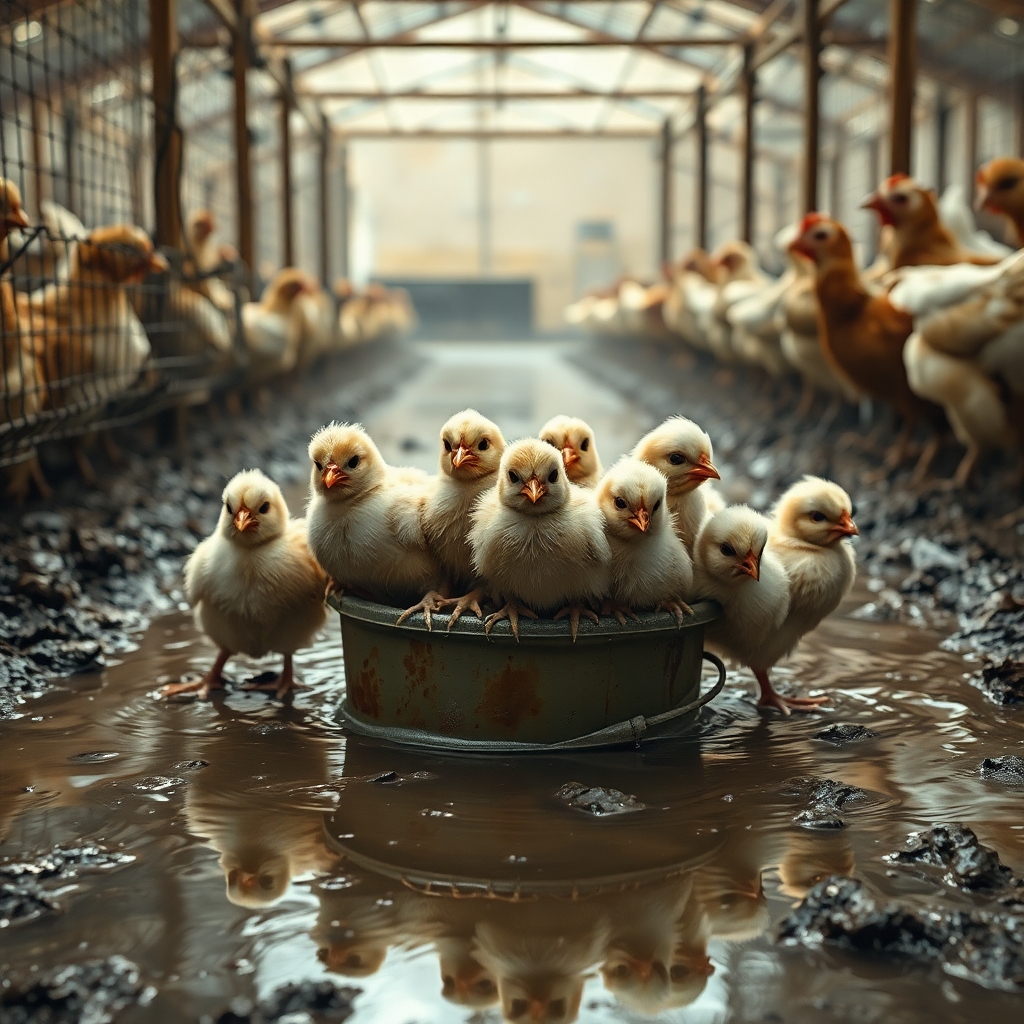
It all started on a dark and stormy morning—at least, that’s how Henny Penny described it. The rain poured, the wind howled, and in one unfortunate backyard, an entire flock stepped outside expecting a nice morning scratch… only to be met with SQUISH.
Mud. Everywhere.
One unlucky hen took a step and sank right in, up to her scaly knees. Another flapped her wings in disgust, sending droplets of muddy doom splattering across the others. A poor young pullet tried to shake it off, but only managed to fling dirt into the feed dish (a crime against poultry, if you ask me).
And then came the worst part… the sneezing started.
Why Rainy Days Are Trouble for Chickens
I get it—rain makes the worms easier to find, keeps the dust down, and helps the humans grow those weird green snacks they eat. But a wet, muddy coop? That’s just a recipe for trouble.
Here’s what happened to that poor, unfortunate flock—and what we must never allow to happen to ours!
Mud = Germ City
Mud isn’t just mud. It’s a squishy stew of bacteria, poop, and parasites—a deluxe disease cocktail, if you will. Every time a chicken steps in it, they track it into the coop, onto the roosts, and straight into the nesting boxes.
Do you want to lay an egg in a germ-infested mud nest? Didn’t think so.
Wet Feathers = Cold Chicks
Our feathers are built for warmth and dryness, but once they get wet, we lose all insulation. And a cold, damp chicken is a chicken at risk. That poor flock didn’t have a nice, cozy dust bath to dry off in—just more mud. And before they knew it? Sniffles.
Damp Coops = Mold & Sickness
If a coop stays damp for too long, mold and bacteria take over. And mold spores? They’re the enemy. They lead to coughing, wheezing, and the dreaded chicken cold (which, by the way, is way more dramatic than a human cold—just ask any hen who’s had the sniffles).
How YOU Can Keep Us Dry and Healthy
Now, the humans who let that muddy disaster happen? They learned their lesson. But you, dear reader, have the advantage of learning before disaster strikes!
Here’s how to make sure our coop never ends up as the setting for a tragic, muddy saga:
Cover High-Traffic Areas – Straw, pine shavings, or sand in the run = dry feet, happy birds. Think of it like a luxury carpet for your favorite feathery friends.
Improve Drainage – If water pools up, fix it! Gravel, trenches, or raised walkways can stop the dreaded Mudocalypse before it starts.
Keep the Coop Dry – Ventilation, clean bedding, and zero leaks mean zero sneezing hens.
Roosts & Nesting Boxes Stay CLEAN – If it’s damp and smelly, fix it fast. We refuse to live in filth.
Emergency Chick Towel Service – If one of us gets wet, a soft, dry towel and some gentle fluffing go a long way. Bonus points if you whisper words of encouragement while drying us off.
🚨 The "No Sneeze Zone" Warning
Henny Penny swears that after just one wet, muddy day, three of the hens started sneezing. And what did that lead to? Isolation. Treatments. Flock-wide drama.
So, let’s be clear: If any of us show these signs, we need help immediately.
🔴 Sneezing, coughing, or wheezing
🔴 Swollen eyes or snotty beaks (yes, it’s as gross as it sounds)
🔴 Acting like a lazy lump instead of scratching for snacks
🔴 Fluffed-up feathers, looking miserable
A sick chicken needs warmth, isolation, and sometimes medicine—but trust me, we’d rather be out pecking the yard than stuck inside the recovery crate.
The Moral of This Story?
That poor, muddy flock suffered for their human’s mistakes. But we don’t have to.
Because our humans are smart—right? RIGHT?!
So let’s keep the coop dry, the germs away, and the sneezes to a minimum.
Now, if you’ll excuse me, I have to go interview a hen who claims she “almost” got her feathers wet once. Shocking. Absolutely shocking.
- Cluck Kent, Official Flock Safety Reporter
What About Your Flock?
Has your coop ever turned into a mud disaster? What’s your best rainy day survival tip? Share below—I’ll be reading the comments while I polish my superhero cape. 🦸♂️🐥
Grandma’s Tried & True Cough Remedy
This old-fashioned cough remedy has been passed down through generations, and for good reason—it works! It soothes a sore throat, calms stubborn coughs, and helps break up chest congestion. Simple, natural, and made with ingredients you probably already have in your kitchen.
Ingredients:
- 1 cup raw honey (local if possible) 🍯
- 1 lemon, sliced 🍋
- 1 small piece of fresh ginger (about 2 inches), sliced thinly 🫚
- 1 cinnamon stick (optional, for extra warmth)
- ½ teaspoon cayenne pepper (optional, for extra kick)
- ½ cup warm water (if needed to thin it slightly)
Instructions:
1️⃣ In a clean jar, layer the lemon slices and ginger slices.
2️⃣ Pour the honey over the top, making sure everything is well coated.
3️⃣ Add the cinnamon stick and cayenne (if using) and stir gently.
4️⃣ Cover the jar and let it sit at room temperature for a few hours or overnight to allow the flavors to meld.
5️⃣ Store in the refrigerator for up to a month.
How to Use:
- Take 1 teaspoon as needed for cough relief.
- Stir a spoonful into warm tea or hot water for a soothing drink.
- For sore throats, let a spoonful slowly dissolve in your mouth.
This remedy is comforting, effective, and a must-have during cold and flu season! Keep a jar handy in your winter wellness stash. ❄️💛 Do you have any family remedies you swear by? Let’s share and stay healthy together!
Another version:
Grandma’s onion, garlic, and honey cough syrup is another tried-and-true remedy that’s been used for generations to soothe coughs, break up chest congestion, and support the immune system. The combination of onion and garlic acts as a natural expectorant, while honey soothes the throat and has antibacterial properties. It might not taste amazing, but it works wonders!
What Kind of Bird Flu is Going Around in 2025? A Detailed Look at the Current Outbreaks
As of January 2025, the most concerning avian influenza strain circulating globally is Highly Pathogenic Avian Influenza (HPAI) H5N1, which has caused significant outbreaks in both domestic poultry and wild bird populations. This strain has been responsible for mass poultry culls, economic losses, and growing concerns about cross-species transmission to mammals, including humans.
In addition to H5N1, other strains such as H5N8 and H5N5 have been detected in some regions, but H5N1 remains the dominant threat.
In this article, we'll discuss:
- The bird flu strains currently spreading,
- Where outbreaks are happening,
- How the virus spreads,
- The risks to poultry and other animals,
- What poultry owners can do to protect their flocks.
The Main Bird Flu Strains Circulating in 2025
The most concerning strains of avian influenza currently spreading include:
1. H5N1 (Highly Pathogenic Avian Influenza - HPAI)
H5N1 is the most widespread and dangerous strain currently affecting birds.
- First identified: Late 1990s in Asia, spreading globally since then.
- Characteristics: Highly contagious with a high mortality rate (up to 90-100% in poultry flocks).
- Transmission: Spread by wild birds, direct contact, and contaminated surfaces.
- Impact on poultry: Causes severe respiratory distress, sudden death, and decreased egg production.
- Impact on mammals: Recent cases of infections in foxes, raccoons, seals, and even domestic pets like dogs and cats have raised concerns.
- Risk to humans: Limited human infections have been reported, mostly in people with direct exposure to infected birds. Symptoms include flu-like illness and, in rare cases, severe respiratory distress.
2. H5N8 (HPAI)
Although less common than H5N1, the H5N8 strain has been reported in wild birds and some poultry flocks, primarily in Europe and parts of Asia.
- First identified: Early 2010s.
- Characteristics: Highly pathogenic in birds but with no known human infections.
- Impact: Causes high mortality in poultry and waterfowl.
3. H5N5 (HPAI)
This strain has been sporadically detected in wild birds, mainly in Europe and North America.
- First identified: 2010s in Asia and Europe.
- Characteristics: Highly contagious but with lower mortality compared to H5N1.
- Impact: Primarily affects wild birds; poultry outbreaks have been rare.
Why is H5N1 a Bigger Concern in 2025?
Several factors make the current H5N1 strain particularly concerning:
- Increased Wild Bird Involvement:
- Wild migratory birds, especially waterfowl, are serving as long-term reservoirs, spreading the virus across continents via their migratory paths.
- The virus has been found in all four major flyways in the U.S. and across multiple continents.
- Spread to Mammals:
- H5N1 has been detected in an increasing number of mammals, including:
- Foxes, raccoons, and bears scavenging infected bird carcasses.
- Marine mammals, such as sea lions and dolphins.
- Domestic pets like cats and dogs that consume infected birds.
- H5N1 has been detected in an increasing number of mammals, including:
- Persistent Transmission:
- Unlike previous outbreaks that declined during warmer months, the current outbreak has remained year-round, indicating a more resilient and adaptable virus.
- Potential for Human Transmission:
- While human infections remain rare, the WHO and CDC continue to monitor cases closely due to concerns about potential mutations that could allow easier human-to-human transmission.
Where Are Bird Flu Outbreaks Happening Now?
As of early 2025, the virus continues to impact North America, Europe, Asia, and parts of Africa.
North America
- United States: H5N1 has been detected in commercial poultry farms, backyard flocks, and wild birds across the country. States heavily impacted include:
- California, Texas, Minnesota, Iowa, Michigan, and Florida.
- The virus has also been detected in dairy cattle in several states, raising concerns about cross-species transmission risks.
- Canada: Poultry farms in British Columbia and Ontario have been affected.
Europe
- UK, France, Germany, and the Netherlands are experiencing ongoing outbreaks in poultry farms and wild birds.
- Government agencies have implemented stricter containment and biosecurity measures.
Asia
- China, Japan, and South Korea continue to report outbreaks in poultry farms, with sporadic cases in humans linked to direct exposure.
Africa & South America
- Egypt, Nigeria, and South Africa have reported bird flu outbreaks in poultry.
- South American countries are facing outbreaks in wild seabird populations.
How Does Bird Flu Spread?
Bird flu is spread through several key pathways, including:
- Direct contact with infected birds – Through saliva, respiratory secretions, and feces.
- Contaminated surfaces – The virus can survive on equipment, feed, and water for extended periods.
- Wild bird migration – Waterfowl such as ducks and geese can carry the virus across long distances without showing symptoms.
- Human activity – Poultry workers and backyard chicken keepers can inadvertently spread the virus through clothing, shoes, and equipment.
The Four Major U.S. Flyways Spreading the Virus:
- Pacific Flyway: West Coast states (California, Oregon, Washington).
- Central Flyway: Midwest and Great Plains states.
- Mississippi Flyway: Central and Eastern U.S., high poultry density regions.
- Atlantic Flyway: East Coast states (Florida, New York, etc.).
How to Protect Your Flock from Bird Flu
If you own backyard chickens, it's crucial to take biosecurity measures to reduce the risk of infection.
Steps to Protect Your Chickens:
- Prevent Contact with Wild Birds:
- Keep your flock enclosed in covered coops and runs.
- Remove standing water sources that might attract wild birds.
- Practice Strict Biosecurity:
- Disinfect shoes, clothing, and equipment before entering the coop.
- Avoid visiting other poultry farms or interacting with unknown birds.
- Monitor Flock Health Closely:
- Watch for symptoms such as coughing, lethargy, swollen eyes, and sudden death.
- Report any suspicious illnesses to local agricultural authorities.
- Safe Handling Practices:
- Wash hands thoroughly after handling birds or eggs.
- Cook eggs and poultry meat thoroughly to prevent any risk of contamination.
Conclusion: Staying Informed and Prepared
The current H5N1 bird flu outbreak is a serious concern for poultry owners and bird enthusiasts. While the risk to humans remains low, the impact on poultry farms and backyard flocks continues to grow. Staying informed about outbreaks in your area and practicing strong biosecurity measures are key to protecting your flock.
Want to learn more about protecting your chickens? Download our free eBook The Biosecure Backyard for practical tips and strategies.
📖 Get your free copy here
How Bird Flu is Spread: Understanding the Risks and the Role of Flyways
Bird flu, or avian influenza (AI), is a highly contagious viral disease that affects both domestic and wild birds, with occasional spillover into mammals and even humans. The virus spreads through various pathways, making it a persistent threat to poultry farms, backyard flocks, and wildlife populations worldwide. Understanding how bird flu spreads is essential for protecting flocks and reducing transmission risks.
In this article, we will explore the primary ways bird flu spreads, the role of migratory bird flyways, and what flock owners can do to minimize exposure.
Avian influenza viruses, particularly Highly Pathogenic Avian Influenza (HPAI) strains such as H5N1, spread through both direct and indirect contact with infected birds and contaminated environments.
The virus is shed through:
- Direct Bird-to-Bird Transmission: Infected birds spread the virus through their saliva, nasal secretions, and feces. Close contact among birds such as in crowded commercial farms or backyard flocks—can lead to rapid transmission. Domestic flocks are at high risk when new birds are introduced without proper quarantine.
- Contaminated Surfaces and Equipment: The virus can survive on surfaces such as feeders, waterers, shoes, and farm tools for extended periods, depending on environmental conditions. Humans can unknowingly carry the virus into their flocks on contaminated clothing, vehicles, or equipment. Wind can spread dust and debris contaminated with viral particles across short distances.
- Wild Bird Transmission: Wild birds, particularly waterfowl (ducks, geese, swans), are natural carriers of avian influenza and can shed the virus without showing symptoms.They can infect domestic birds by contaminating shared water sources, feed, or the surrounding environment. Migratory birds play a crucial role in spreading the virus across large geographic areas (discussed further below).
- Contaminated Water and Feed: Bird flu viruses can persist in water sources such as ponds, lakes, and puddles, especially in colder temperatures. Infected birds shed the virus into water, which can then infect other birds drinking from the same source. Feed contamination occurs when wild birds access stored grain or open feeders.
- Human-Mediated Spread: Farmers, veterinarians, and visitors can carry the virus into flocks through contaminated clothing, footwear, and equipment. Live bird markets and poultry transport vehicles are significant sources of virus transmission between regions.
Infected Wildlife and Pests: Rodents and scavengers such as foxes, raccoons, and crows can introduce the virus by coming into contact with infected birds or their droppings and entering coops or barns.Insects like flies can also carry viral particles from contaminated areas to clean environments.
The Role of Migratory Bird Flyways in Bird Flu Spread
Migratory birds, particularly waterfowl such as ducks and geese, are major reservoirs of avian influenza. They travel across continents, spreading the virus along established migration routes known as flyways. These flyways are critical pathways for bird movement, and outbreaks often follow these migration patterns.
In the U.S., there are four major flyways, each presenting unique risks for bird flu transmission:
Pacific Flyway
- Covers: West Coast, from Alaska to California and Mexico.
- High-Risk Areas: Wetlands, coastal regions, and inland water bodies.
- Concerns:Large numbers of migratory waterfowl passing through densely populated poultry farming areas. Frequent contact between wild and domestic birds near shared water sources. Bird flu cases have been frequently detected along this flyway in wild birds.
Central Flyway
- Covers: The central U.S., from Canada down to Texas and Mexico.
- High-Risk Areas: Grasslands, prairies, and reservoirs.
- Concerns: Waterfowl that use the Mississippi River as a corridor bring significant exposure risks. Large poultry operations in Texas and Oklahoma increase potential spillover to domestic flocks. Outbreaks in wild birds can threaten commercial and backyard poultry in this region.
Mississippi Flyway
- Covers: Eastern U.S., from Canada through the Midwest to the Gulf of Mexico.
- High-Risk Areas: Wetlands, lakes, and rivers, especially near the Great Lakes region.
- Concerns: The most heavily trafficked flyway, with millions of birds passing through annually. High densities of poultry farms along the route increase risks of transmission. Bird flu outbreaks in this flyway often have severe impacts on poultry production.
Atlantic Flyway
- Covers: Eastern seaboard, from Canada down to Florida and the Caribbean.
- High-Risk Areas: Coastal marshes, wetlands, and estuaries.
- Concerns: Coastal areas provide stopping points for migrating waterfowl, increasing risks for nearby flocks. Overwintering populations of wild birds can carry and spread the virus for extended periods. Poultry producers in the Mid-Atlantic and Southeastern U.S. need to be especially vigilant.
Why Flyways Matter to Backyard Flock Owners
Understanding migratory bird flyways helps chicken owners assess their flock's risk level. If you live near major migratory routes or water sources frequented by wild birds, you need to take additional precautions to protect your flock.
Risks based on flyway proximity:
- Increased exposure during peak migration seasons (spring and fall).
- Higher potential for contaminated water and feed sources.
- Greater likelihood of encountering wild birds carrying the virus.
Risk reduction tips for backyard flock owners:
- Keep your flock enclosed: Use covered runs to prevent contact with wild birds.
- Secure feed and water sources: Use covered feeders and provide fresh water daily.
- Limit exposure during peak migration: Keep chickens confined during high-risk periods.
- Monitor for symptoms: Watch for signs such as respiratory distress, lethargy, and decreased egg production.
- Maintain good biosecurity: Use dedicated shoes and clothing when tending to your flock.
Final Thoughts: Staying Ahead of Bird Flu Spread
Bird flu spreads through a variety of pathways, many of which are outside of a chicken keeper’s control, such as migratory bird flyways and environmental factors. However, practicing strong biosecurity and understanding how the virus spreads can significantly reduce your flock’s risk.
By staying informed about bird flu outbreaks and following preventive measures, backyard chicken owners can take proactive steps to keep their birds healthy and safe.
Want to learn more about biosecurity and protecting your flock?
📖Get your free copy here!
Stay safe and stay informed!

