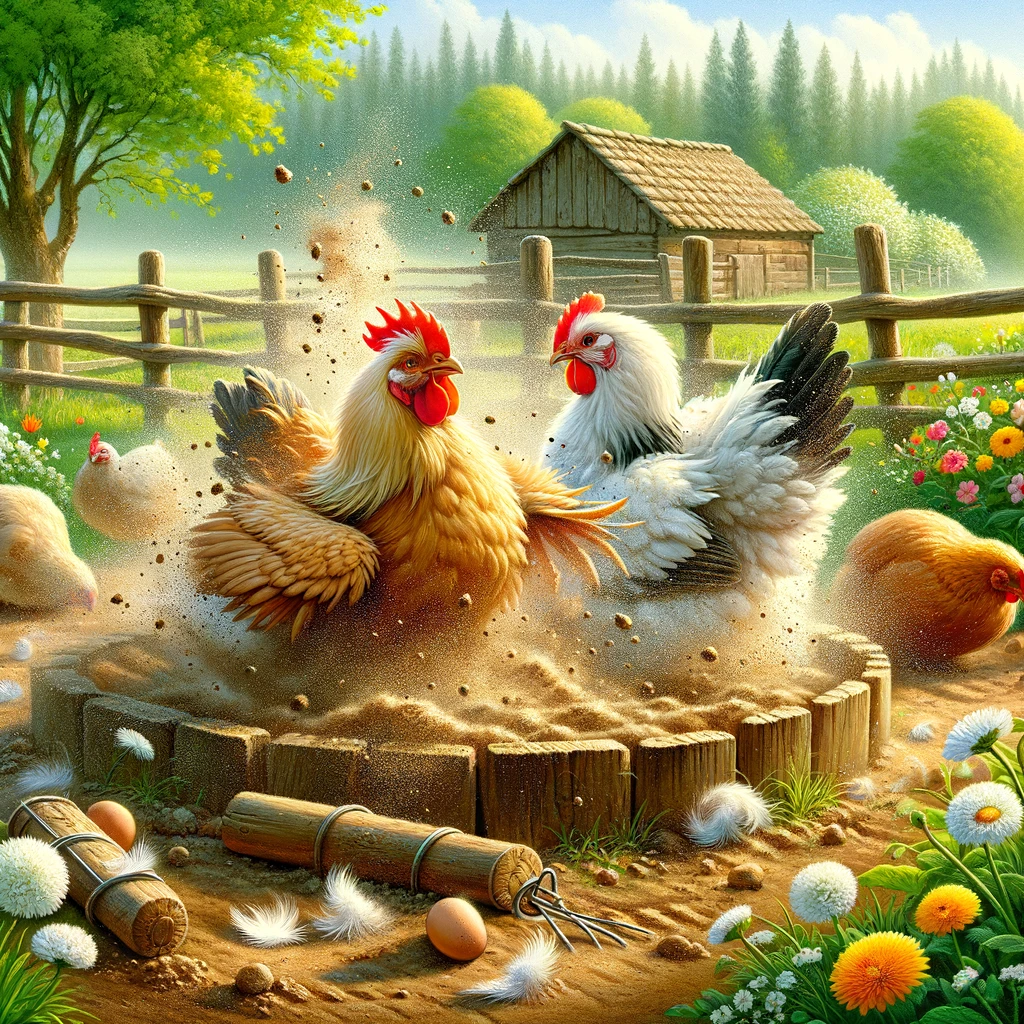
DIY Dust Bath For Your Flock

dust bath

Creating a dust bath for your chickens is a simple and fun project that will greatly benefit their health and well-being. Chickens naturally bathe in dust to keep themselves clean by removing mites, lice, and other parasites from their feathers and skin. Here's a detailed guide on how to make an effective dust bath for your feathered friends:

Materials Needed

  1. Container: Choose a container that's large enough for your chickens to comfortably fit in. This could be anything from a shallow wooden box, an old tire, a large under-bed storage container, or even a sectioned-off area of their run. The container should be at least 12-15 inches deep to prevent the dust from easily spilling out.
  2. Dust Bath Mix: The most common ingredients for a dust bath mix include:
    • Sand: Acts as an abrasive, helping to remove parasites.
    • Diatomaceous Earth (Food Grade): Natural pest control, killing insects by dehydration. Be cautious with the amount; a little goes a long way.
    • Wood Ash: Optional, but beneficial for additional parasite control and adds minerals to the bath.
    • Soil: Some natural soil from your garden can help mimic their natural bathing environment.

Instructions

  1. Select the Right Location: Choose a spot in your chicken run or yard that's protected from rain and excessive moisture. You want the bath to stay dry to be effective.
  2. Prepare Your Container: If you're using a wooden box or constructing a frame, make sure there are no sharp edges or splinters. If you're sectioning off a part of the chicken run, consider bordering it with bricks or stones to keep the bath contained.
  3. Mix Your Bath Ingredients: A common mix ratio is 40% sand, 40% soil, 10% Diatomaceous Earth, and 10% wood ash. Adjust the quantities based on the size of your container. Mix these ingredients thoroughly in a separate container or directly in the bath area.
  4. Fill Your Container: Pour the mixed materials into your chosen container, filling it enough so that chickens can bathe comfortably but not so much that the mix spills over easily.
  5. Introduce Your Chickens to the Bath: Place the bath in an accessible area for your chickens. You may need to show them the bath initially, but they'll quickly get the idea and start using it.
  6. Maintenance: Regularly check the dust bath to ensure it's dry and clean. Refresh the mix as needed, especially after rain or heavy use. You might need to replace or add more ingredients every few weeks or months, depending on usage and weather conditions.

Additional Tips

  • Accessibility: Ensure that all your chickens, including smaller or less dominant ones, can access the bath.
  • Multiple Baths: For larger flocks, consider having multiple baths to prevent overcrowding.
  • Covered Option: If your area is prone to frequent rains, consider placing the dust bath under a shelter or adding a removable cover to protect it from the elements.

Creating a dust bath is a straightforward and inexpensive way to promote the health and happiness of your chickens. By following these steps and regularly maintaining the bath, you'll provide your flock with a natural and enjoyable means to stay clean and parasite-free.